
Table of Contents
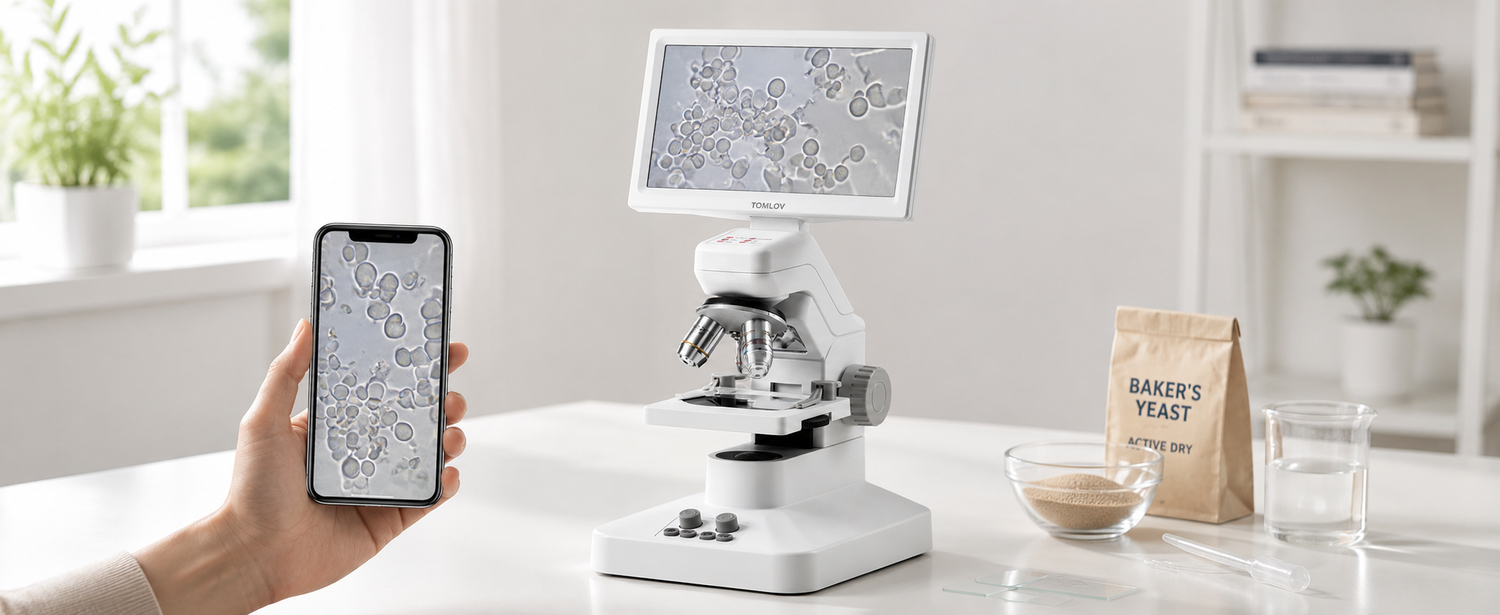
Under a microscope, baker's yeast appears as repeated round or oval cells. At 400× total magnification, individual cells are much easier to separate, and some may show a small daughter cell attached to a larger mother cell. A thin fresh wet mount, transmitted light from below and gradual focusing from 40× to 400× produce the most reliable beginner view.
In a typical bright-field image, the strong outer outline corresponds to the cell boundary; a small attached oval may be a bud. Large perfect circles with thick dark rims are usually air bubbles—not giant yeast cells. A classroom microscope can show cell shape, grouping and visible budding, but it cannot confirm species or viability from appearance alone.

Yeast cells at 400x with a mother cell, bud, cell boundary and air bubble labeled
Quick answer: Use a very small amount of fresh yeast, dilute it well, lower the coverslip at an angle and start at 40×. Locate a thin area at 100×, then use 400× and fine focus to examine individual cells and buds.
What Does Yeast Look Like at 400×?
Baker's yeast, usually Saccharomyces cerevisiae, commonly appears as pale round, oval or slightly elongated cells. Size varies with strain, growth stage and conditions, so use size as a clue rather than an exact identification test. In an unstained wet mount you may see:
-
single oval cells;
-
pairs or small clusters;
-
a small bud attached at a narrow neck to a larger mother cell;
-
faint granular or uneven interiors;
-
cells at slightly different focal depths;
-
occasional debris and much larger air bubbles.
The visible “cell wall” in a basic bright-field view is best described cautiously as the cell boundary. A standard student microscope usually cannot resolve the cell wall as a separate layered structure. Labeling it “cell boundary/cell wall outline” avoids claiming more detail than the image supports.
What You Need for a Fresh Yeast Wet Mount
-
active dry yeast or fresh baker's yeast;
-
room-temperature or lukewarm water;
-
a clean glass slide and coverslip;
-
a dropper or pipette;
-
a toothpick or clean stirrer;
-
a small cup or watch glass;
-
paper towel;
-
optional mild sugar solution;
-
optional suitable yeast stain and required safety equipment;
-
a microscope with transmitted bottom light and approximately 40× to 400× total magnification.
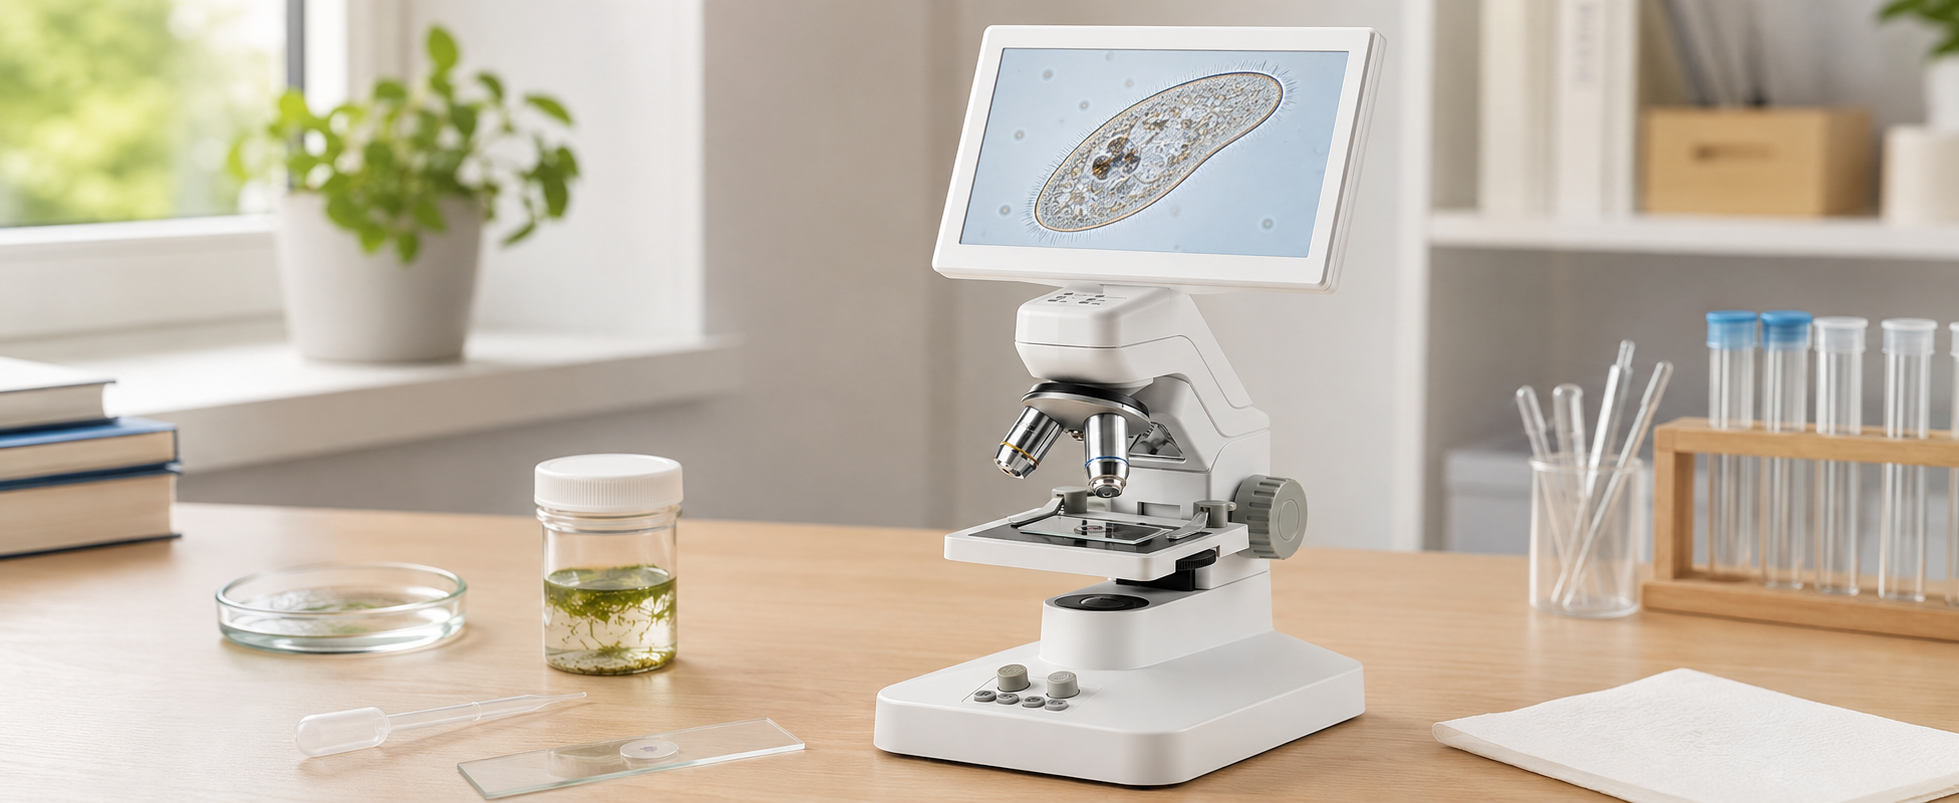
Top lighting is designed for opaque surfaces such as coins and circuit boards. Yeast in a glass wet mount needs light passing upward through the sample. A screen-based model such as the TOMLOV DM301 Pro provides adjustable bottom lighting and lets students save photos or videos of the same field over time.
How to Prepare a Yeast Wet Mount Step by Step
1. Hydrate a Small Sample
Add a tiny pinch of yeast to a small amount of room-temperature or lukewarm water. Mix gently and wait about 5–10 minutes for the granules to disperse. Avoid hot water, which can damage cells, and avoid a large scoop of yeast, which produces an opaque, crowded mount.
2. Dilute Until the Suspension Is Only Slightly Cloudy
If the mixture looks creamy or thick, transfer one drop into clean water and mix again. A beginner's most common preparation error is excessive concentration. You need enough empty space between cells to recognize individual outlines and buds.
3. Place One Small Drop on a Clean Slide
Use a clean dropper to place a small drop in the center. Dust, fibers and dried residue become convincing lookalikes at 400×, so handle the slide by its edges.
4. Lower the Coverslip at About 45 Degrees
Touch one edge of the coverslip to the drop and lower it slowly. This pushes air outward and reduces bubbles. Do not press down; pressure can create currents, distort the mount or move cells into dense piles.
5. Wick Away Excess Liquid
If liquid spreads beyond the coverslip, touch paper towel to one edge. Capillary action will draw out excess water and make the layer thinner. Do not wipe across the coverslip.
6. Start at 40× Total Magnification
With a 10× eyepiece, use the 4× objective. Turn on bottom light, locate the drop and focus on its thinner edge. The cells may appear only as tiny dots or clusters. This wide view is for navigation, not final identification.
7. Move to 100× and Find a Well-Spaced Area
Rotate to the 10× objective and use fine focus. Scan between crowded clusters for an area with separate repeated ovals. Center that area before moving higher.
8. Observe at 400× with Fine Focus Only
Rotate to the 40× objective and use only fine focus. Reduce excessive brightness if cell edges disappear. Move through the shallow focal plane slowly: a true attached bud should remain connected to the mother as the pair comes into focus.
For more detail on the progression, see 40× vs 100× vs 400× magnification and coarse vs fine adjustment knobs.

Four steps for preparing a fresh yeast wet mount on a microscope slide
What Can You See at 40×, 100× and 400×?
|
Total magnification |
Typical setup |
What yeast looks like |
Best task |
|
40× |
10× eyepiece × 4× objective |
Tiny dots, dense patches and the drop boundary |
Find the sample and locate thin areas |
|
100× |
10× eyepiece × 10× objective |
Groups and some separate oval cells |
Compare density and center a useful field |
|
400× |
10× eyepiece × 40× objective |
Individual cells, attached pairs and some visible buds |
Examine shape, budding and lookalikes |
These are optical total-magnification values for a typical compound microscope. A digital microscope may state screen or digital magnification differently, so compare actual field of view and resolved detail rather than relying only on a large advertised number.

Comparison of yeast viewed at 40x, 100x and 400x total magnification
How to Recognize Budding Yeast
Budding begins as a small projection from a mother cell. As the daughter grows, the pair may resemble a snowman or figure eight. Look for three clues together:
-
a smaller oval attached to a larger cell;
-
a visible connection or narrow neck;
-
a consistent relationship as you adjust fine focus.
Two overlapping free cells can imitate a bud. Inspect several pairs and change the focal plane slightly before labeling one. Not every healthy sample will show many buds at the moment you observe it.
Yeast vs Bacteria vs Air Bubbles
|
Feature |
Yeast cells |
Bacteria |
Air bubbles |
|
Relative size in the same field |
Usually larger and easier to resolve |
Usually much smaller; may appear as tiny dots or rods at 400× |
Highly variable and often much larger |
|
Shape |
Repeated round or oval cells |
Dots, short rods or other small forms |
Smooth circles with a strong dark rim |
|
Pattern |
Singles, pairs, clusters; possible buds |
Numerous tiny points or rods |
Random sizes; not a repeated cell population |
|
Interior at 400× |
May look faintly granular or uneven |
Little reliable internal detail |
Empty-looking center with optical edge effects |
|
Change while slide dries |
Cells may drift as liquid moves |
Tiny particles may show Brownian motion |
Bubbles may expand, merge or shift |
|
What confirms identity? |
Morphology plus a known culture; species needs more testing |
Staining/culture and appropriate higher-resolution methods |
Behavior, rim and lack of cell structure |
Movement is not proof of life. Yeast does not swim. Apparent motion usually comes from liquid flow, vibration, evaporation or Brownian motion. If you want to explore motile microorganisms, compare this experiment with the Paramecium wet-mount guide or pond-water observation guide.
Microscope comparison of yeast cells, smaller bacteria and a thick-edged air bubble
When Should You Stain Yeast?
Start with an unstained wet mount. It preserves the most natural appearance and is enough to study shape, density and many budding pairs. Use staining when you need greater contrast, a specific protocol or a controlled viability estimate.
Stains are not interchangeable. Simple contrast stains may kill or alter cells. Viability stains require a validated procedure, timing and interpretation; color alone is not a reliable home test of whether every cell is alive. Follow the stain manufacturer's safety instructions, wear appropriate protection and never use microbiology stains around food preparation.
For a beginner article, it is safer and more accurate to say: stain for contrast when an unstained mount remains too faint, but do not infer species or viability without a validated method.
Why Can't I See Budding Cells?
Several normal factors can produce a field with no obvious buds:
-
the yeast is old or inactive;
-
the sample was observed immediately after hydration;
-
the water was too hot;
-
the field contains mostly unbudded cells;
-
the preparation is too dense to distinguish attached pairs;
-
the light is washing out faint necks;
-
the image is slightly above or below the correct focal plane.
Try a fresh packet, use lukewarm rather than hot water, allow time for hydration, dilute the sample and inspect multiple fields. Adding sugar does not guarantee immediate visible budding; fermentation and cell division are related biological activities but they are not the same measurement.
Troubleshooting a Yeast Slide
|
Problem |
Likely cause |
Fix |
|
Everything looks like a solid grainy mass |
Sample is too concentrated |
Dilute one drop into fresh water and remake the slide |
|
Cells are pale or disappear |
Bottom light is too bright |
Lower brightness or close the iris slightly |
|
Large dark circles dominate |
Air trapped under the coverslip |
Make a new mount and lower the coverslip at an angle |
|
Cells drift too quickly |
Drop is too deep or slide is settling |
Wick away excess liquid and wait briefly |
|
Nothing appears at 400× |
Target was not centered at lower power |
Return to 40× or 100×, locate and center the field |
|
View never becomes crisp |
Dirty glass, thick mount or wrong focal plane |
Clean/remake the slide and focus on a thin edge |
|
Few or no buds |
Timing, temperature, culture condition or random field selection |
Use fresh yeast and compare several fields over time |
|
Image has dark specks that do not move with the slide |
Dust may be on the optics |
Rotate/check components and clean lenses correctly |
Mini Experiment: Watch Fermentation Over Time
This activity adds a time-series comparison without claiming that microscopy alone measures fermentation rate.
Question
How do visible cell distribution, budding pairs and gas production change in yeast with and without sugar?
Setup
Prepare two labeled cups with equal volumes of lukewarm water. Add the same small amount of yeast to each. Add a measured small amount of sugar to Cup A; add none to Cup B. Keep temperature, container, mixing and timing the same.
Observe
At 0, 15, 30 and 60 minutes:
-
record foam height or visible gas activity in each cup;
-
mix each cup in the same gentle way;
-
prepare a fresh, equally diluted wet mount;
-
photograph three fields at 400× using the same light and focus method;
-
count total cells and visibly budded pairs in each field;
-
calculate the visible budding percentage: budded cells ÷ total cells × 100.
Interpret Carefully
More foam indicates more trapped gas, but foam height is influenced by the container and liquid surface. A higher visible budding percentage suggests more cells were caught in a budded stage, but it is not a direct measurement of fermentation rate or viability. Repeat the experiment and compare averages rather than drawing a conclusion from one field.
Saving consistent images makes the comparison stronger. The TOMLOV DM301 Pro supports bottom-lit slide viewing and photo/video capture, so a student can document the same protocol without holding a phone over an eyepiece.
Frequently Asked Questions
What magnification is best for yeast?
Use 40× to locate the sample, 100× to find a thin field and 400× to examine individual cells and visible buds. Higher magnification is not automatically clearer; resolution, lighting and preparation matter.
How big are yeast cells?
Common baker's yeast cells are only a few micrometers across, with size varying by strain and growth condition. Treat a broad range such as roughly 5–10 µm as an orientation, not a species-identification rule.
Can I see yeast without stain?
Yes. A thin wet mount at 400× can show cell outlines, clusters and many budding pairs. Reduce excessive illumination to improve contrast.
Can I tell whether yeast is alive by watching it move?
No. Yeast is nonmotile, and drifting or jittering can come from liquid flow or Brownian motion. Reliable viability testing needs a validated protocol.
Are the big circles yeast cells?
Usually not. Circles much larger than the repeated oval cells, especially those with thick dark borders and empty centers, are commonly air bubbles.
Conclusion
The clearest beginner view of yeast comes from good preparation rather than extreme magnification: use fresh yeast, make a dilute wet mount, prevent bubbles, start at 40× and finish at 400× with fine focus and moderate transmitted light. Compare repeated cell shapes, attachment points and multiple fields before identifying buds—and keep observations separate from claims about species, viability or fermentation rate.

Commenta
Nota che i commenti devono essere approvati prima di essere pubblicati.
Questo sito è protetto da hCaptcha e applica le Norme sulla privacy e i Termini di servizio di hCaptcha.