
A single drop of pond water can contain dozens of living organisms — protozoa, filamentous algae, and rotifers with their characteristic ciliary crowns. It is one of the most informative microscope exercises available to amateur microscopists, largely because the specimens are alive and active. Unlike a prepared slide, every observation differs.
What Do You Need to Get Started?
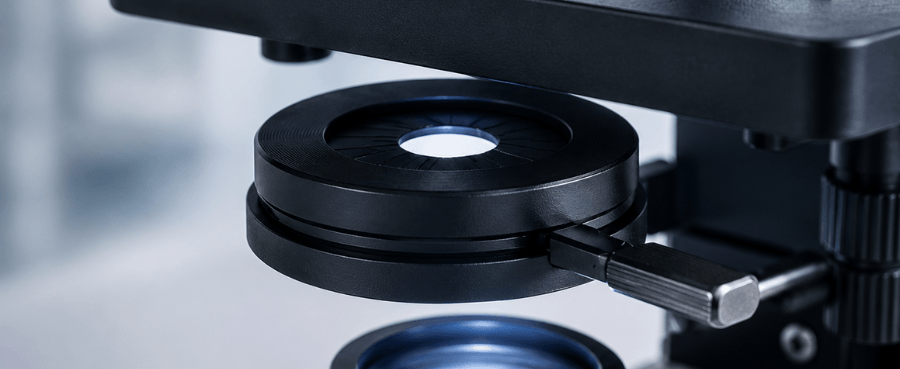
A Compound Microscope With Adequate Magnification
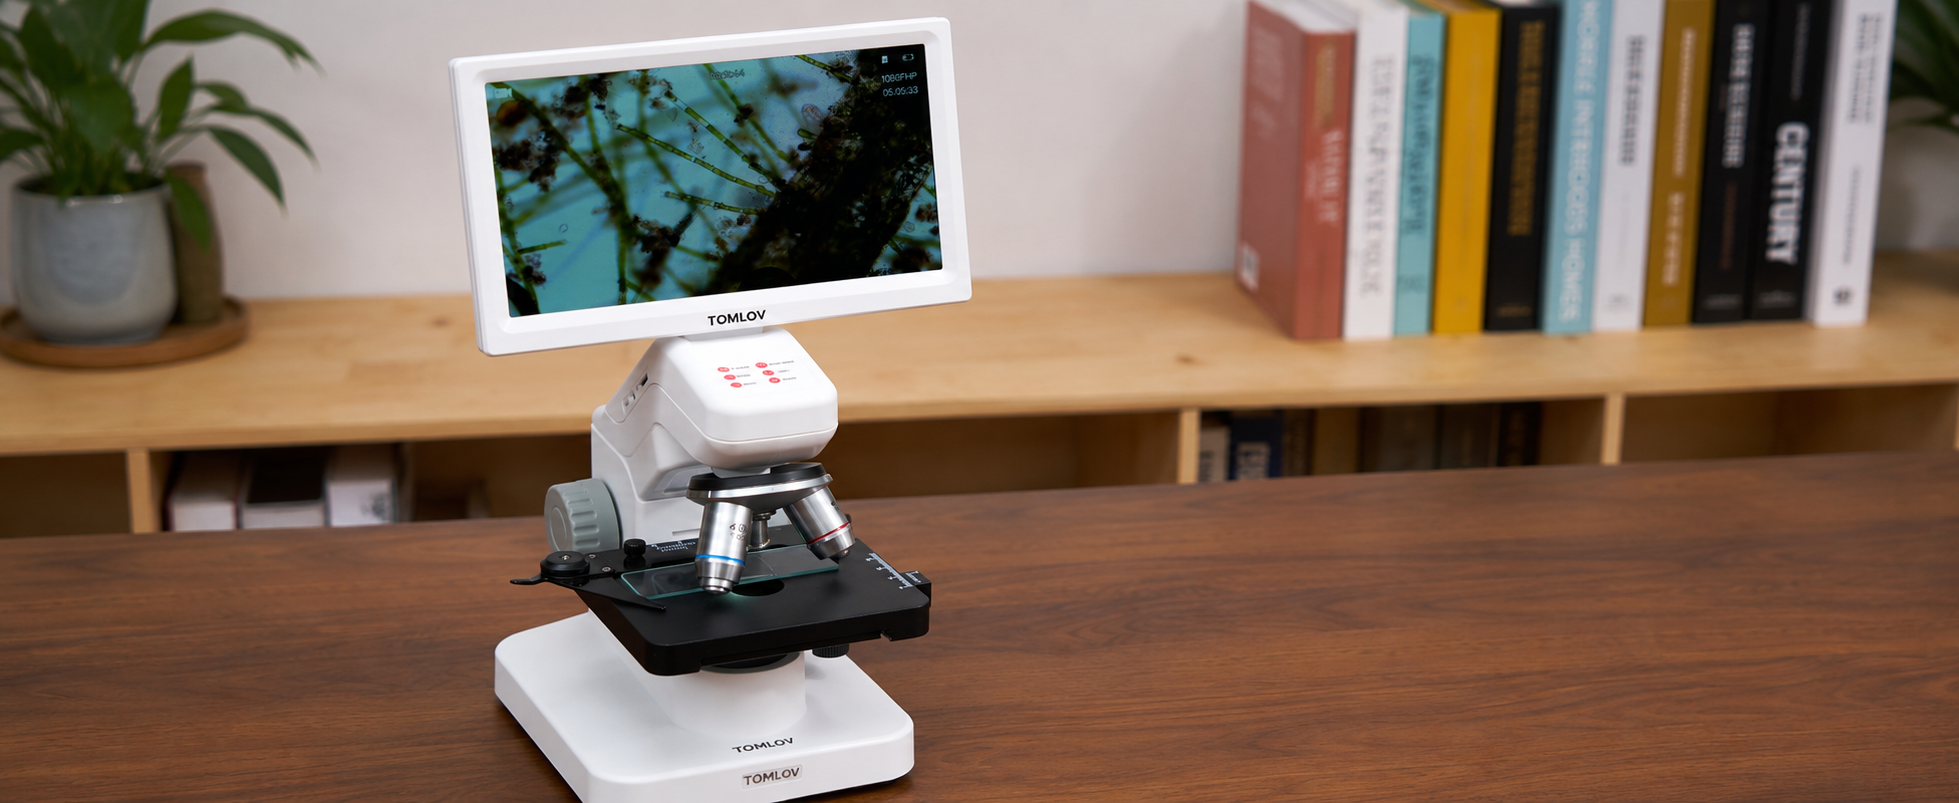
A microscope capable of at least 400x magnification is required to resolve most pond organisms clearly. Magnifications below 100x will reveal only the largest specimens, leaving smaller protozoa undetectable. A standard compound light microscope covers this range, as does a 4K digital microscope, which displays the image on an integrated screen and facilitates tracking of motile organisms — a useful feature for group observation in educational settings.
Slides, Coverslips, and a Dropper
Glass slides, thin coverslips, a pipette, and a small collection jar are the essential items. Fine-tipped forceps are useful for extracting pondweed for closer examination.
Where Should You Collect Your Pond Water Sample?
Around Aquatic Vegetation
Plant surfaces support the highest density of microorganisms. Algae adhere to leaves, protozoa graze on the algal layer, and rotifers move among the stems. Gently squeezing a clump of pondweed or duckweed over the collection jar produces runoff that is rich in biological material. This technique alone often determines whether a slide will be sparse or densely populated.
Near the Bottom and Sediment Areas
The sediment layer is the second most productive source. Decomposing leaves and organic debris sustain communities of ciliates, flagellates, and small invertebrates. Lightly disturb the substrate with the jar and collect the suspended material above it — not the sediment itself.

How to Collect Your Sample
Gather Water From Different Pond Layers
Surface water carries floating algae and photosynthetic flagellates, the mid-column around vegetation supports grazing protozoa and rotifers, and the layer just above the sediment holds ciliates and detritus feeders. Combining samples from all three zones in one jar, rather than relying on a single scoop, captures organisms across the full vertical column, where the resolution of a digital microscope then separates structures down to individual cilia and flagella.
Leave Air Space in Your Collection Jar
Fill the jar approximately two-thirds full. The organisms require dissolved oxygen, and a sealed jar filled to capacity will deplete the available oxygen before the sample reaches the workstation. A loose lid maintains viability for several hours.
Protect Your Sample During Transport
Keep the jar out of direct sunlight and away from heat sources. Pond microorganisms are sensitive to temperature fluctuation; a jar left in a heated vehicle for thirty minutes may yield a lifeless sample.
How to Prepare a Wet Mount Slide
Swirl the jar lightly before drawing the sample to redistribute organisms that have settled. Use the pipette to deposit a single drop at the center of a clean glass slide — excess fluid will overflow when the coverslip is applied. Hold the coverslip at a 45-degree angle, touch one edge to the slide adjacent to the drop, then lower the opposite edge gradually so the water disperses outward without enclosing air. Air bubbles may initially be mistaken for organisms. If water extends beyond the coverslip, wick away the excess with the corner of an absorbent tissue.
Viewing Your Slide Step by Step
Secure the slide to the stage with the coverslip facing upward. Set illumination to a moderate level — pond water specimens are typically translucent, and excessive light reduces contrast. Narrow the diaphragm slightly to enhance visibility.
Always begin at the lowest magnification. Use the coarse focus knob to bring the slide into proximity, then withdraw slowly until the image resolves. At 40x, larger debris and overall sample density become apparent. When a specimen of interest is identified, move it to the center of the field of view before switching objectives.
Switch to 100x using the fine focus knob only — the coarse knob risks driving the objective into the slide. At 100x, the body shapes of larger protozoa and the structure of algal colonies become visible. At 400x, cilia, flagella, and internal organelles are resolved.
What Can You Observe in Pond Water?
Protozoa
Paramecium is the standard example — slipper-shaped, covered in cilia that beat in coordinated waves, and notably rapid in movement. Amoeba moves by extending pseudopods and presents as an irregular form that continuously alters its shape. Euglena swims by means of a flagellum and contains chloroplasts, occupying an intermediate position between plant and animal classification.
Algae
Spirogyra is the green spiral-structured alga, readily identifiable. Diatoms appear as small siliceous boxes with intricate patterns on their cell walls. Volvox forms hollow green spheres that move through the water in coordinated rotation.
Rotifers and Microfauna
Rotifers are small multicellular organisms with a ciliary corona that draws food particles toward the mouth, alternating between anchored filter-feeding and rapid swimming. Water fleas (Daphnia) are visible to the unaided eye but most informative at 40x, where the transparent carapace exposes a beating heart and branching gut. Cyclops copepods dart in jerky bursts, and Hydra anchor to debris and extend tentacles to capture prey. Such microfauna move quickly across multiple focal planes, and are most easily studied on a Tomlov digital microscope, where the live image renders on a fixed display rather than through an eyepiece.

Common Problems When Viewing Pond Water
If everything appears blurry, focus is likely set on debris occupying a different plane from the active organisms; adjust the fine focus slowly in both directions. If nothing is moving, the sample may have been stored too long, overheated, or collected from low-density open water — obtain a new sample from around vegetation. If the sample is too dense, dilute the drop with clean water or draw from the upper layer of the jar. If the illumination is too strong, translucent organisms become indistinguishable against a bright background; narrow the diaphragm or reduce lamp intensity.
Conclusion
Pond water provides one of the most consistent yields in home microscopy. Each sample differs, and the organisms observed are performing the same functions they have performed for millions of years. Collect from around vegetation, maintain the sample at a cool temperature, begin at 40x, and increase magnification gradually. The microbial environment revealed is the same one Antonie van Leeuwenhoek documented three centuries ago when he first directed a lens at a drop of rainwater.
FAQs
What magnification for pond water?
400x is the optimal magnification. General activity is visible at 40x, body shapes of larger protozoa at 100x, and cilia, flagella, and internal organelles are resolved at 400x. Higher magnifications reduce depth of field and complicate tracking of motile specimens.
How to view water under a microscope?
Prepare a wet mount with one drop of water under a coverslip. Secure the slide, begin at 40x to locate active areas, center the specimen, then switch to 100x and 400x using only the fine focus knob. Narrow the diaphragm for contrast.
How to make a microscope slide of pond water?
Swirl the jar, draw a sample with a pipette, and deposit one drop on a clean slide. Touch a coverslip at 45 degrees to the slide beside the drop, lower it slowly to displace air, and wick away excess water at the edge.
Who looked at pond water under a microscope?
Antonie van Leeuwenhoek, a Dutch tradesman, was the first to systematically observe microorganisms in water in the 1670s. Using single-lens microscopes of his own construction, he described "animalcules" in rainwater and pond water and reported his findings to the Royal Society of London.
How long does a pond water sample stay viable?
A properly stored sample remains active for two to three days. Biological activity peaks within the first 24 hours, then declines as dissolved oxygen depletes. Keep the jar loosely covered, in indirect light, and at a cool temperature. Adding a small piece of pondweed extends viability.
Leave a comment
All comments are moderated before being published.
This site is protected by hCaptcha and the hCaptcha Privacy Policy and Terms of Service apply.