
Slice an onion under a microscope and you'll find something that looks almost architectural — rows of rectangular cells, each one neatly walled off, with a visible nucleus floating inside. It's one of the most reliable biology experiments there is, and it doesn't require a lab. A fresh onion, a few supplies, and a decent microscope are all you need to get a clear view of living plant cells.
What you need before you start
Before you touch the onion, gather everything first. Stopping mid-preparation to hunt for forceps is how slides get contaminated and tissue dries out.
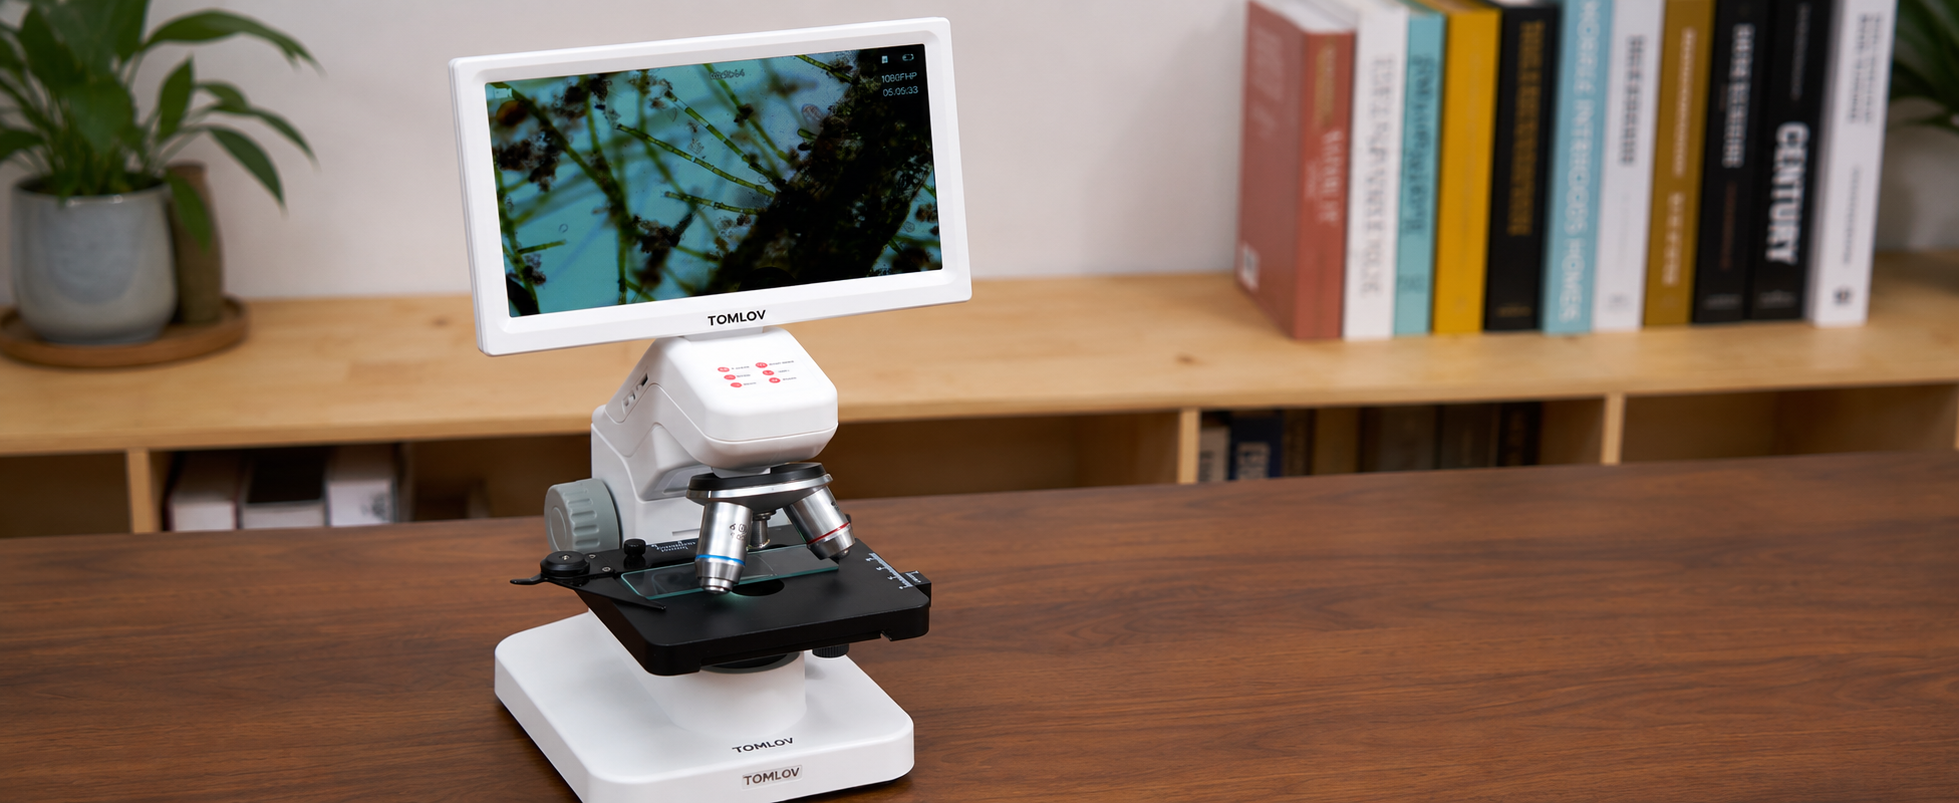
You'll need: a firm, fresh onion; a sharp blade or scalpel; fine-tipped forceps; glass microscope slides and coverslips; a dropper or pipette; iodine solution or methylene blue for staining; and a microscope. A basic compound light microscope handles this experiment well. If you'd prefer to view the image on a screen rather than through an eyepiece — useful for group observations or recording — a digital microscope is a straightforward upgrade that works for adults and students alike.
A quick look at how this experiment works
Here's the process from start to finish before we break each step down:
- Peel a thin, translucent layer from the inner surface of an onion
- Lay it flat on a clean glass slide with a drop of water
- Add one drop of stain and cover carefully with a coverslip
- Place the slide on the microscope stage and start at the lowest magnification
- Adjust focus and move up to higher magnification to identify cell structures

How to prepare your onion cell slide
Peeling the right layer
Cut a small wedge of onion and look at the inner surface of each layer. There's a thin, almost see-through membrane clinging to it — that's the epidermal layer, and it's what you want. Peel it away gently with forceps. Firm, smaller onions tend to give cleaner pieces that are easier to handle.
The membrane needs to be thin enough for light to pass through. Anything too thick will appear dark and featureless under the microscope, regardless of how well everything else is done. If a piece tears, set it aside and try again.
Getting the tissue onto the slide
Place one small drop of water on a clean glass slide, then lay the onion membrane flat on top. The water holds it in place and helps it spread. Use the blunt end of your pipette or the back of your forceps to press out any folds — a wrinkled membrane creates overlapping layers that are impossible to see through clearly.
Placing the coverslip without bubbles
Hold the coverslip at a 45-degree angle, touch one edge to the slide just beside the tissue, then lower the rest down slowly. This lets the liquid spread from one side rather than trapping air in the middle. A small bubble here or there can often be removed by pressing lightly on the coverslip directly over it. A large bubble usually means starting over.
Should You Stain Onion Cells Before Viewing Them?
Using iodine
Iodine is the standard choice. It stains the nucleus a reddish-brown color and makes the cell walls stand out against a pale background. Apply one or two drops directly onto the tissue before lowering the coverslip, or draw it under afterward by placing a drop at one edge and pressing a paper towel against the opposite side. One drop is usually enough — more creates a saturated, dark field where structures blur together.
Using methylene blue
Methylene blue colors the nucleus and protein-rich structures blue, offering a slightly different contrast to iodine. It's applied the same way and works equally well. Some users find it easier to control in terms of how much stain spreads. Either option works; the choice mostly comes down to what you have available.
Skipping the stain altogether
Unstained onion cells are still worth observing — the cell walls show up as faint outlines, and you can get a sense of cell shape and arrangement. The nucleus is difficult to spot without stain, though. If your goal is to identify specific structures, use a stain. If you're testing a microscope's optics or just exploring, unstained is a reasonable starting point.

How to focus your microscope and find the cells
Focusing with a compound microscope
Begin at the lowest objective — typically 4x. Use the coarse adjustment knob to bring the slide into rough focus, then switch to the fine adjustment knob to sharpen the image. Once cells are visible, move to 10x for a better look at the overall structure. To see the nucleus and cytoplasm clearly, 40x is the right magnification. Never start at high magnification and work down; you'll spend far longer searching for something to focus on.
Keep the microscope square on a stable surface, and adjust the stage lighting so it's bright but not blown out. Too much light washes out the contrast between stained and unstained areas. If you'd rather skip the manual adjustment process entirely, an auto focus microscope locks onto the specimen automatically.
Focusing with a digital microscope
Digital microscopes send the image directly to a built-in screen or monitor, removing the eyepiece entirely. Most models use a single dial or wheel for focusing, and the image updates in real time as you adjust. Higher-end models — like the Tomlov 4K digital microscope — include autofocus, which locks onto the specimen automatically and is particularly useful when switching between magnification levels.
Start with the lens a few centimeters above the slide, then lower it slowly while watching the screen until the cell outlines appear. Digital microscopes are especially practical when multiple people are observing at once, since the live image on-screen is easier to share than passing around a single eyepiece.
What will you actually see?
With a well-prepared, stained slide, onion cells look like a brick wall viewed from above — a repeating grid of rectangular units, each clearly defined by a firm outer border.
Cell wall
The thick outer boundary of each cell. In onion epidermal cells, the cell wall is the most immediately visible structure — rigid and clearly outlined, it gives each cell its distinctive boxy shape. This is usually the first thing people recognize.
Nucleus
A darker, roughly oval body sitting inside the cell, often toward one side or corner. Staining makes it stand out against the pale cytoplasm. It can look like a small dark dot or a slightly larger oval depending on magnification. This is the cell's control center, where the genetic material is stored.
Cytoplasm and vacuole
The cytoplasm fills the space between the nucleus and the cell wall. At the center of each cell is a large vacuole — a fluid-filled cavity that takes up most of the cell's interior and pushes the cytoplasm toward the edges. On a clean, well-stained slide, you can sometimes see the thin strip of cytoplasm pressed flat against the inner surface of the cell wall.
How onion cells compare to animal cells
Onion cells make a useful teaching specimen partly because they highlight what sets plant cells apart. The rigid cell wall is absent in animal cells, which rely only on a flexible cell membrane. The large central vacuole is also unique to plant cells — animal cells have vacuoles too, but they're much smaller and less prominent.
One thing noticeably missing in onion cells is chloroplasts. Onions grow underground and don't photosynthesize, so they never develop the green organelles found in leaves or stems. The stained cells appear amber or yellow, not green — there's no chlorophyll present. That absence doesn't mean something went wrong with the preparation; it's simply what onion cells look like.
Simple tips for a cleaner slide
Smooth out any wrinkles in the tissue
A folded membrane creates double layers that block light and produce a blurry, confusing image. Before staining, take a moment to press the tissue completely flat using the back of your forceps or the blunt end of a pipette. It takes ten seconds and makes a visible difference.
Don't use too much stain
One drop is the right amount. Adding more doesn't increase visibility — it floods the slide with color and makes individual structures harder to distinguish. If you've overdone it, press a folded paper towel gently against the edge of the coverslip to draw some stain out.
Make sure your slide and coverslip are clean
Dust, fingerprints, and smears show up clearly at microscope magnification and are easy to mistake for cell structures. Wipe both surfaces with a lint-free cloth before use, and handle coverslips by the edges only.
Conclusion
Onion cells are reliable, accessible, and genuinely informative — exactly what a first biology experiment should be. Get the membrane thin, add one drop of stain, lower the coverslip slowly, and start at 4x. Within a few minutes of adjustment, you'll have a clear view of cell walls, nuclei, and cytoplasm in a specimen that came from your kitchen. It's a simple process, and the results hold up every time.
FAQs
What magnification do you need to see onion cells?
You can make out the general cell layout at 40x, but 100x to 400x gives a clear view of the nucleus and cytoplasm. Most standard compound microscopes and 4K digital microscopes cover this range without additional equipment.
Why can't I see any chloroplasts in onion cells?
Onions are underground storage organs and don't photosynthesize, so they never develop chloroplasts. It's not a preparation mistake — those organelles simply aren't present in onion epidermal cells.
Can I do this experiment without a stain?
Yes, but the nucleus is much harder to identify without one. Unstained slides show cell wall outlines reasonably well, but for a clear view of internal structures, iodine or methylene blue makes a significant difference.
How long does a wet mount slide stay usable?
An unstained wet mount will begin drying out within an hour or two. If you want to preserve a slide longer, seal the edges of the coverslip with clear nail varnish once it's dry — it will stay viewable for several days.
What's the difference between using a compound microscope and a digital microscope for this experiment?
A compound microscope uses optical lenses and an eyepiece; a digital microscope displays the image on a screen. Both work well for onion cells. Digital microscopes are easier to share with a group and allow you to capture photos or video, while compound microscopes generally offer sharper optical resolution at higher magnifications.
Commenta
Nota che i commenti devono essere approvati prima di essere pubblicati.
Questo sito è protetto da hCaptcha e applica le Norme sulla privacy e i Termini di servizio di hCaptcha.