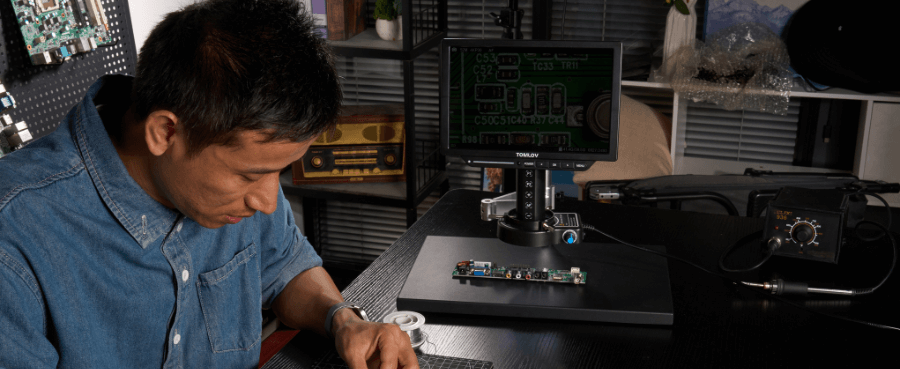
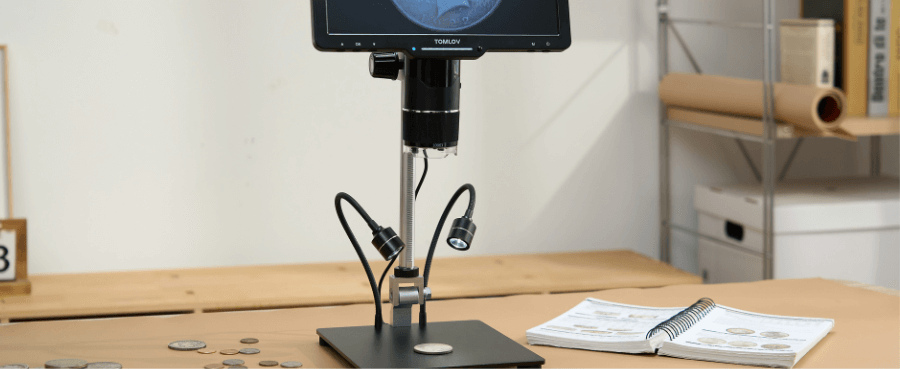
QA/QC inspection is being pushed to its limits. As tolerances tighten and products become more complex, traditional inspection methods struggle with micro-defects, inconsistent judgments, and weak documentation. This guide explains where conventional QA/QC inspection breaks down and how digital microscope helps teams push beyond those limits with more consistent, defensible inspection decisions.
Why QA/QC Inspection Is Being Pushed to Its Limits
Inspection challenges rarely appear overnight. They build quietly as processes evolve.
Tighter Tolerances Are Outpacing Traditional Inspection Tools
Across industries such as electronics, automotive, and precision manufacturing, acceptable defect sizes continue to shrink. Features that were once easy to judge visually are now measured in microns. At this scale, traditional optical microscopes and naked-eye inspection begin to lose reliability, especially during long shifts or high-volume runs.
The issue is not that inspectors lack skill. It is that human vision and manual optics have practical limits, and modern QA/QC requirements increasingly sit beyond them.
Manual Inspection Cannot Scale With Production Complexity
Many QA/QC teams now support:
-
More product variants
-
Shorter production cycles
-
Frequent line changeovers
Manual inspection struggles in these environments. Each new product or revision increases the cognitive load on inspectors, raising the likelihood of inconsistency. Scaling inspection by simply adding labor often increases cost without improving control.
Subjective Judgments Are Becoming a Quality Risk
When inspection depends heavily on personal judgment, variability is inevitable. Two experienced inspectors may legitimately disagree on whether a borderline defect is acceptable. In a high-stakes QA/QC environment, these disagreements translate into:
-
Production delays
-
Internal conflict
-
Customer dissatisfaction
At scale, subjectivity itself becomes a quality risk.

Where Traditional QA/QC Inspection Methods Break Down
The limits of inspection become most visible under pressure.
Visual Inspection Fails at Micro-Defect and Edge Conditions
Micro-cracks, fine solder defects, surface contamination, and edge burrs often sit in a gray zone—barely visible, yet functionally critical. Traditional tools may reveal them inconsistently, forcing inspectors to rely on intuition rather than evidence.
These “edge conditions” are where most disputes originate, both internally and with customers.
Lack of Visual Evidence Weakens Traceability and Audits
Many QA/QC processes still rely on written notes or pass/fail checklists. When quality issues surface weeks or months later, teams struggle to reconstruct what was actually observed.
Without visual records:
-
Root cause analysis becomes speculative
-
Audit preparation becomes stressful
-
Customer claims are harder to defend
Inspection without evidence does not scale in regulated or customer-driven environments.
Inspection Results Are Hard to Standardize Across Teams
Consistency across shifts, inspectors, and facilities is difficult when inspection results live only in individual judgment. Training helps, but it cannot fully eliminate variation when tools themselves limit repeatability.
This lack of standardization undermines confidence in QA/QC outcomes.
How Digital Microscope Pushes Beyond These Inspection Limits
Digital Microscope does not simply improve visibility; it changes how inspection decisions are made.
Turning Subjective Visual Checks Into Objective Image-Based Decisions
By capturing high-resolution images, Digital Microscope transforms inspection from a momentary observation into a reviewable artifact. Decisions are based on what is recorded, not what someone remembers seeing.
This shift reduces disagreement and enables consistent interpretation across teams.
Extending Effective Inspection Resolution Without Increasing Skill Burden
Digital systems enhance visibility through controlled lighting, magnification, and image processing. Inspectors do not need to “work harder” or develop advanced optical expertise to see more detail.
The result is higher inspection capability without a proportional increase in training time or fatigue.
Making Inspection Results Reviewable, Shareable, and Defensible
Inspection images can be annotated, stored, and shared with engineering, production, or customers. When questions arise, teams review the same evidence rather than debating recollections.
This directly strengthens QA/QC credibility.
What Digital Microscope Changes in Day-to-Day QA/QC Workflows
Beyond technical capability, Digital Microscope reshapes daily quality operations.
Faster Decision-Making With Fewer Re-Inspections
Clear visual evidence reduces second-guessing. Inspectors spend less time rechecking parts, and fewer issues are escalated unnecessarily. This improves throughput without compromising quality.
Stronger Alignment Between QA, Engineering, and Production
When everyone sees the same image, discussions become fact-based. Engineering feedback is faster, production adjustments are clearer, and QA decisions carry more authority.
This alignment reduces friction across departments.
Building Visual Inspection Records for Long-Term Quality Control
Over time, inspection images form a valuable data set. Patterns emerge, recurring defects become visible, and process improvements become more targeted.
Inspection evolves from a gatekeeping function into a feedback loop.
Related Reading: Choosing the Right Microscope: A Complete Guide for Beginners

When Digital Microscope Makes Sense—and When It Does Not
Digital Microscope is not a universal solution.
High-Risk, High-Cost Defect Scenarios
Processes where defects lead to recalls, safety risks, or major customer penalties benefit the most. In these cases, stronger inspection control directly reduces business risk.
Processes With Frequent Quality Disputes or Customer Claims
If inspection results are often questioned, digital evidence quickly pays for itself by reducing conflict and rework.
Situations Where Traditional Tools Are Still Sufficient
For low-risk, low-complexity products with generous tolerances, traditional inspection methods may remain practical and cost-effective. Digital Microscope should be applied where it solves real problems, not by default.
Preparing QA/QC for the Next Stage of Inspection Evolution
Digital Microscope also positions QA/QC teams for future demands.
Digital Microscope as the Foundation for Data-Driven QA/QC
Image-based inspection data supports trend analysis, process optimization, and continuous improvement efforts that manual methods cannot sustain.
Readiness for Automation and AI-Assi sted Inspection
As automated defect detection becomes more common, Digital Microscope provides the image quality and consistency such systems require. Adoption today reduces barriers tomorrow.
Supporting Distributed and Remote Quality Teams
Digital inspection data can be reviewed across locations, enabling remote support, supplier collaboration, and faster issue resolution in global operations.
Frequently Asked Questions
Is Digital Microscope meant to replace traditional inspection tools?
In most cases, it complements rather than replaces them. Many teams use Digital Microscope selectively for critical inspections.
Does Digital Microscope slow down inspection processes?
Typically no. It often reduces re-inspections and decision delays, improving overall efficiency.
How difficult is it to train inspectors on Digital Microscope?
Most systems are intuitive, and inspectors usually become productive quickly with minimal training.
Can Digital Microscope support compliance and audits?
Yes. Image records and annotations significantly strengthen traceability and audit readiness.
Which industries benefit most from Digital Microscope in QA/QC?
Electronics, automotive, medical devices, aerospace, and precision manufacturing see strong benefits, but any tolerance-critical process can gain value.
Final Thoughts
QA/QC inspection is being stretched beyond what traditional methods were designed to handle. Rising complexity, smaller defects, and stronger traceability requirements have exposed their practical limits.
Digital microscopy helps close this gap by enabling more objective, consistent, and reviewable inspection decisions. When applied to the right processes, it supports scalable quality control without replacing inspector expertise—only strengthening it.
The real value lies not in adopting new tools everywhere, but in using digital microscopy where inspection risk and accountability are highest.


Dejar un comentario
Todos los comentarios se revisan antes de su publicación.
Este sitio está protegido por hCaptcha y se aplican la Política de privacidad de hCaptcha y los Términos del servicio.