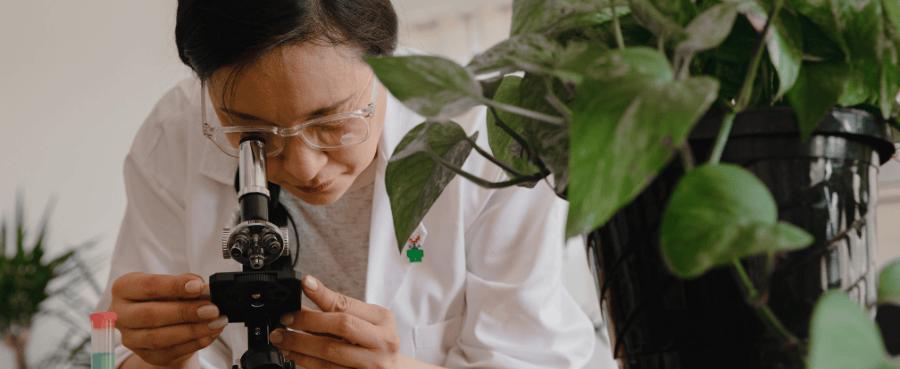
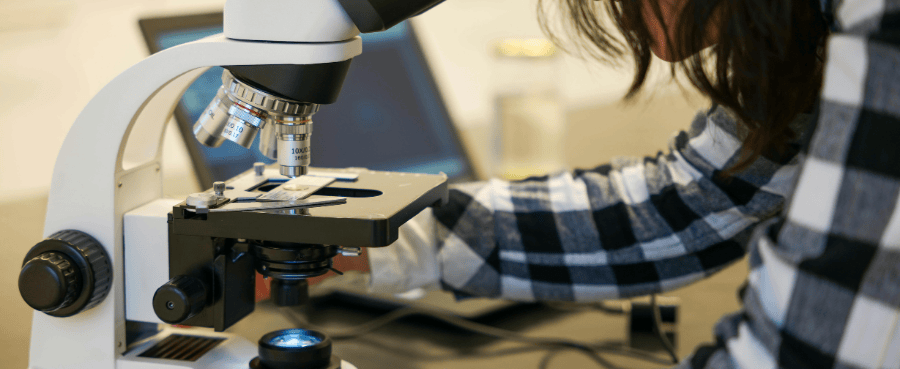
To view sperm clearly, you’ll need a compound microscope with at least 400x magnification. For the best results, labs use phase contrast microscopes, which provide sharp contrast for live, unstained sperm. But if you’re working with a standard brightfield microscope, there are simple lighting adjustments you can make to get a surprisingly good view.
In this article, we’ll break down which microscopes actually work, how to prepare and view samples properly, common mistakes to avoid, and even budget-friendly options if you’re just getting started. By the end, you’ll know exactly how to turn an invisible cell into something you can see, study, and appreciate under your microscope.
Microscope Types Compared for Viewing Sperm
| Microscope Type | Price Range | Suitable For Sperm? | Pros | Cons |
| Stereo/Dissecting (10x–40x) | $50–200 | ❌ No | Great for insects, plants, coins | Magnification too low for cells |
| Toy Microscopes (“1000x” claims) | <$100 | ❌ No | Cheap, widely available | Poor optics, weak lighting, blurry images |
| Compound Brightfield | $150–400 | ✅ Yes | Affordable, 400x–1000x magnification, widely used in schools | Needs lighting adjustments to improve contrast |
| Phase Contrast | $800–1500+ | ✅ Best | Gold standard for live, unstained sperm; excellent contrast | Expensive, requires specialized objectives/condensers |
| Darkfield | $400–800+ | ✅ Good | Bright specimen on dark background, ideal for motility | Requires special condenser, not as detailed as phase |
| Digital/USB/HDMI Compound | $200–600 | ✅ Good | Combines optics with screen/camera; beginner-friendly; can record video | Image quality varies by model; relies on proper illumination |
Budget Setup Comparison for Viewing Sperm
| Budget Range | Recommended Setup | Key Features | What You Can Expect |
| Under $200 | Basic compound brightfield microscope (4x, 10x, 40x objectives) + LED light | Entry-level, widely available, add a phone adapter or USB camera | Presence and basic motility visible at 400x after lighting adjustments; not ideal for detailed structure |
| $200–$500 | Compound brightfield microscope with USB/HDMI camera; optional darkfield stop | Beginner-friendly, screen display, ability to record images and video | Reliable motility observation, easier focusing, usable still images and video recordings |
| $500–$1500 | Phase contrast kit (special condenser + objectives); optional heated stage | Professional-level contrast, clear viewing of unstained live sperm, maintains temperature for natural motility | Crisp contrast, detailed views of head/tail at 1000x, more repeatable results—ideal for advanced hobbyists or small labs |

Your Step-by-Step Guide to Viewing Sperm for the First Time
Follow these detailed steps to ensure a clear and successful observation. Rushing this process—especially sample preparation—is the most common cause of frustration.
Step 1: Prepare Your Sample Like a Pro
A pristine slide is the foundation of a good observation.
- Allow for Liquefaction: After collection, the sample will be thick and gelatinous. Wait 20–30 minutes for it to liquefy into a watery consistency. Viewing too early makes it nearly impossible to see individual sperm.
- Ensure Cleanliness: Start with a lab-quality glass slide and coverslip. Even a single fingerprint or speck of dust can obscure the view. Wipe them with a lens cloth or a lint-free tissue dampened with alcohol if needed.
- Get the Drop Size Right: Place a single, small drop (about the size of a pinhead) in the center of the slide. Too much material creates a thick layer that is hard to focus through and can cause the coverslip to float.
- Place the Coverslip Correctly: Hold the coverslip at a 45-degree angle. Touch one edge to the slide near the drop and gently lower the rest. This helps air escape and prevents distracting bubbles.
Step 2: Master Lighting and Contrast
Getting the light right is just as important as magnification. Sperm are nearly transparent, so contrast is key.
- Power On and Start Low: Turn on the illuminator at medium-low brightness. Place the slide on the stage and secure it with clips. Begin with the lowest objective (4x or 10x) and use the coarse focus to find the sample.
- Brightfield Adjustments: If you’re using a standard brightfield microscope, adjust contrast by lowering the condenser slightly and slowly closing the iris diaphragm. This reduces glare and makes the translucent sperm “pop” into view.
- Darkfield or Phase Contrast: With these microscopes, the effect is automatic. Sperm will glow brightly against a dark background (darkfield) or appear with sharp edges and details (phase contrast).
Step 3: Find, Focus, and Observe
Once the sample is in place and lighting is adjusted, it’s time to bring the sperm into focus.
- Switch to High Power: After locating the sample, move to the 40x objective (400x total). Do not use the coarse focus at this point—only the fine focus knob.
- Use Fine Focus Only: A tiny adjustment can make the difference between a blur and a clear view. Sperm will appear small and darting quickly across your field of view.
- Tips for Tracking Motile Sperm:
- Relax your eyes—watch a small area instead of chasing individual cells.
- Adjust brightness slightly lower to reduce glare when tracking fast movement.
- Look near the edges of the droplet, where sperm often collect and are easier to focus on.
- Be patient—it takes a few minutes to get used to spotting them.
Frequently Asked Questions (FAQ)
What’s the minimum magnification I need?
400x is the effective minimum for seeing individual sperm shape and movement.
Can I use a simple student microscope?
Yes, as long as it’s a compound microscope that reaches 400x. You’ll need to use the contrast tricks described above.
Is it possible to see sperm with a phone microscope?
Generally, no. Clip-on phone microscopes lack both magnification and the condenser/diaphragm required to see transparent cells.
How do I know if the sperm are healthy?
At home, you can only observe basic motility—whether sperm swim actively and mostly in straight lines. Professional fertility analysis requires specialized stains, oil-immersion lenses (1000x+), and trained interpretation.

Final Thoughts: Taking the Next Step
Viewing sperm with a microscope can be an exciting and educational experience, whether your interest is scientific curiosity or personal fertility. The key is choosing the right tool, mastering lighting and contrast, and approaching the results with realistic expectations.
If your goal is fertility analysis, treat this as a preliminary step. What you observe at home can give you confidence to seek professional guidance when necessary. If you’re simply here for the science, congratulations—you’re about to unlock a hidden, microscopic world few people get to see firsthand.
For a user-friendly option, a tomlov digital microscope offers powerful magnification with the comfort of screen viewing. It’s an affordable and practical choice for anyone who wants to observe sperm clearly without the complexity of lab equipment.
Happy viewing!


Laisser un commentaire
Tous les commentaires sont modérés avant d'être publiés.
Ce site est protégé par hCaptcha, et la Politique de confidentialité et les Conditions de service de hCaptcha s’appliquent.