
Table of Contents
If you’ve ever struggled with the limitations of traditional microscopes—eye strain, difficulty sharing images, or clunky setups—you may be wondering if there’s a smarter solution.
A digital microscope combines a camera sensor with optical lenses to magnify specimens and display them on a screen, making observation clearer, easier, and more collaborative.
In this article, we’ll explain exactly what a digital microscope is, how it works step by step, and how it compares to traditional models.
You’ll also discover where digital microscopes shine, from classrooms to electronics repair, and get practical advice on choosing the right model for your needs.
What A Digital Microscope Is
A digital microscope has a camera sensor and optical lens that captures images and sends them to a screen, computer, or monitor. Instead of peering through an eyepiece, you view details on a display, often with the ability to save photos and videos.
Evolution Of Digital Microscopes
If you’re looking for an affordable yet reliable digital microscope,Tomlov offers a wide range of models with features like 4K resolution, HDMI output, and a user-friendly design.
Digital Vs Traditional: Key Differences
Viewing Method
-
Digital Microscopes: Use a built-in camera and display images on a monitor, tablet, or smartphone.
-
Traditional Microscopes: Provide a direct optical view through eyepieces for a more immersive, hands-on experience.
Image Sharing & Collaboration
-
Digital: Images and videos can be captured, stored, annotated, and shared instantly—even globally—making them ideal for classrooms, team projects, and remote work.
-
Traditional: Limited to the person at the eyepiece unless extra camera attachments are added.
Documentation
-
Digital: Automatically saves images and videos, streamlining research, teaching, or inspection workflows.
-
Traditional: Requires external cameras or manual sketching for record-keeping.
Portability & Convenience
-
Digital: Often lighter, simpler to set up, and user-friendly. Many models are portable, making them great for fieldwork and education.
-
Traditional: Bulkier and less portable, designed primarily for laboratory or stationary use.
Magnification & Image Quality
-
Digital: Magnification depends on sensor size, display size, and digital zoom. While extreme magnification is excellent for many applications, it can sometimes lose accurate detail.
-
Traditional: High-end optical systems deliver superior clarity and resolution, making them the standard for advanced scientific research.
Flexibility
-
Digital: Best for scenarios where sharing, recording, and teaching are priorities.
- Traditional: Highly versatile thanks to interchangeable objective lenses and adjustable eyepieces, suitable for various scientific applications.
Related Reading: Why a Digital Microscope is Key For Your Electronics Projects

How A Digital Microscope Works (Step By Step)
-
Place your sample (coin, insect, PCB) under the lens.
-
Turn on the LED lights to illuminate the object.
-
Adjust focus slowly until the image is sharp.
-
The camera sensor captures the image → converts it to a digital signal.
-
Image displays live on LCD, PC, or monitor.
-
Save or share images/videos via USB, SD card, or HDMI.
💡 Analogy: Imagine zooming in with your phone’s camera on a stand with built-in lighting.
What The Specs Really Mean
Magnification
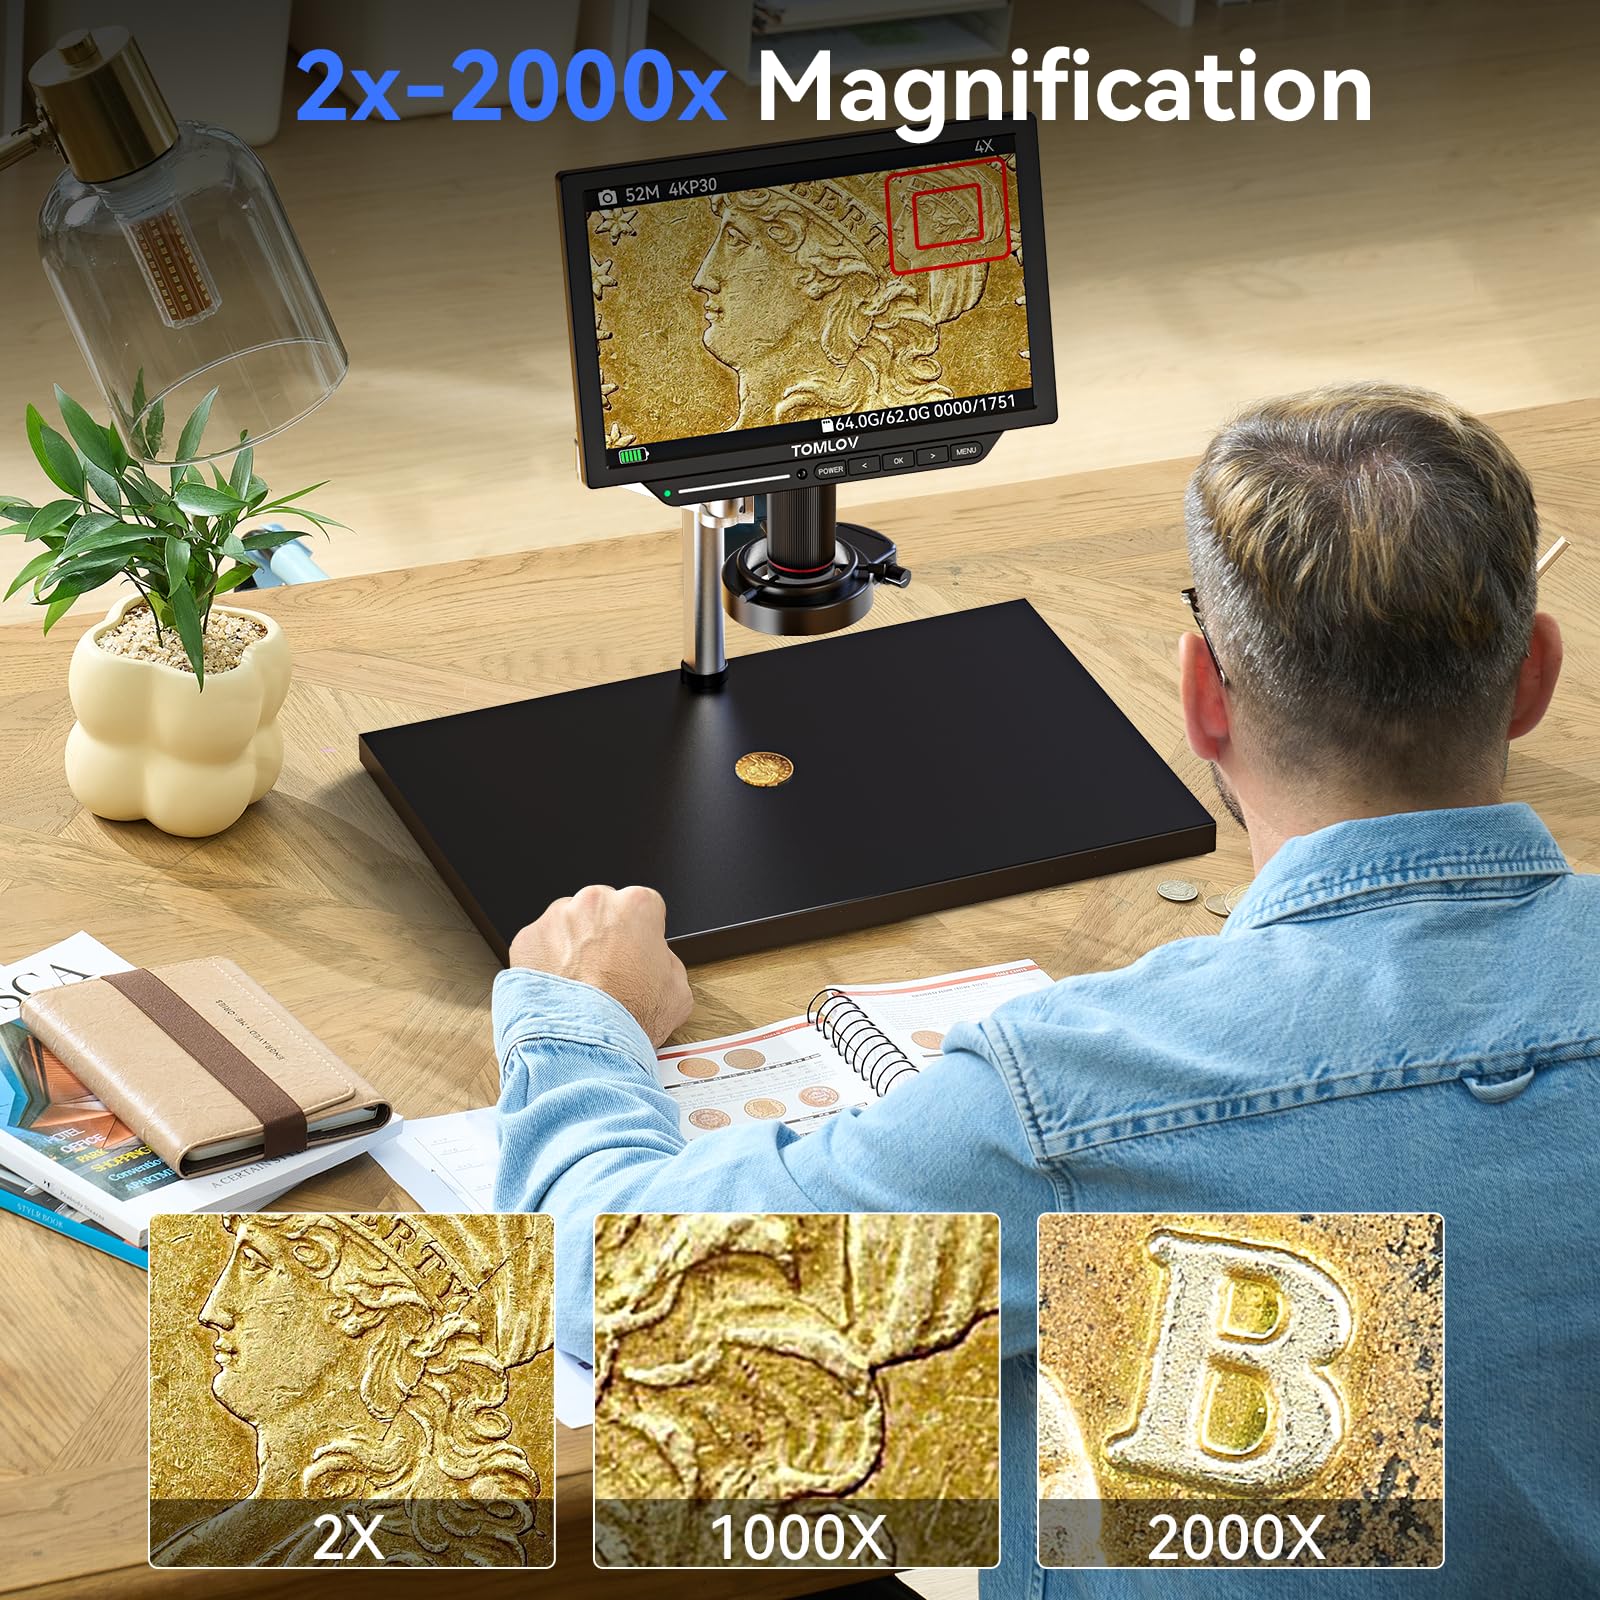
Start low (50x–100x) and increase until you see precise details. For coins and PCBs, 200x is plenty. Remember: usable clarity > inflated “2000x” claims.
Resolution
Resolution = detail. 1080p/2MP is fine for casual use, 4K/12MP is best for teaching or detailed reporting. Test by projecting onto a large screen—edges and textures pop more at higher resolution.
Working Distance
More space under the lens means easier handling. Before buying a scope for soldering, check that the tools fit comfortably under the frame Rate.
Higher frame rates = smoother video. If images stutter, reduce resolution from 4K → 1080p to double frame speed.
Illumination
Start with low LED brightness, then increase gradually. For shiny objects, diffuse the light with thin white paper or angle the LEDs.
Connectivity
-
USB → Plug into PC, open camera app, save images.
-
HDMI → Connect to TV/monitor for live demos.
-
LCD built-in → Just power on, no computer needed.
Software Integration
Many microscopes include software for measuring, annotating, and live-streaming. For accurate measurements, calibrate with a known scale.
Where Digital Microscopes Shine
Education And Homeschool
Teachers can project live images, record lessons, or let students capture their observations.
Hobby & Collection
Perfect for inspecting coins, stamps, fossils, and insects—capture high-quality collection records.
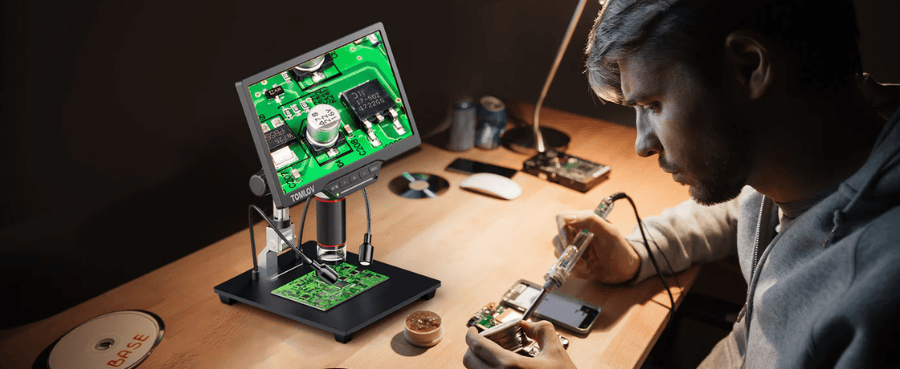
Electronics & DIY Repair
Check solder joints, inspect PCBs, and work hands-free with longer working distances.
Crafts, Forensics & Quality Control
Used in jewelry, textiles, 3D printing, and even forensic analysis to inspect tiny flaws or trace evidence.

How To Choose The Right Digital Microscope
Step 1: Define Your Use Case
-
Teaching → HDMI or large LCD models.
-
Electronics → Long working distance + sturdy stand.
-
Biology slides → Fine focus and steady illumination.
Step 2: Match Features To Needs
-
Recording? → USB/SD capture.
-
Measurements? → Software with calibration.
-
Portability? → Standalone LCD.
Step 3: Pick A Budget Tier
-
$50–$100 → Entry-level, hobbies, kids.
-
$150–$300 → Mid-range, better optics, HDMI.
- $300–$500+ → Pro-grade, 4K, smoother video
Related Reading: A Complete Guide to the Tomlov Digital Microscope
Step 4: Check The Kit
Look for bundles with a stand, cables, a power supply, and software.
For classrooms, hobby projects, or electronics repair, Tomlov’s digital microscope collection provides precise imaging, easy setup, and excellent value for both beginners and professionals.
Get Crystal-Clear Images (Practical Tips)
Use The Right Magnification
Look at a fabric: 200x reveals fibers, but 1000x may blur. Stop where clarity peaks.
Control Reflections And Glare
Shiny objects? Tilt LEDs or diffuse with tissue paper.
Stabilize Everything
If your image shakes, put a rubber mat under the base and tighten all knobs.
Balance Color And Exposure
Check the white paper—adjust the white balance until it looks neutral.
Clean Optics And Samples
Use a blower, then a microfiber cloth. Clean coins/jewelry before viewing.
Common Problems And Quick Fixes
|
Problem |
Possible Cause |
How to Fix (Step by Step) |
|
Blurry Images |
Focus not adjusted, magnification too high, poor lighting |
1) Turn the focus knob slowly until the edges sharpen. Reduce magnification (200x often clearer)3. ) Add angled lighting for better contrast) Practice with textured samples like fabric or banknotes |
|
Connection Issues (USB/HDMI) |
Faulty cable/port, wrong input, missing driver |
1) Try different USB/HDMI ports or cables. On Windows: open Device Manager → check under “Cameras”.3) For HDMI: select the correct input on the monitor/TV. 4) Install/update official drivers from the manufacturer |
|
Color Distortion / Uneven Brightness |
LEDs angled poorly, light too harsh, wrong white balance |
1) Re-angle or rotate LED lights) Place tissue/white paper over LEDs as the diffuser (33). Adjust white balance using white paper as a reference |
|
Magnification Confusion |
Marketing specs show digital zoom, not true optical |
1) Ignore inflated “2000x” claims—focus on clarity. Test with a coin: look for scratches and fine ridges. Compare clarity at different zoom levels and use the sharpest |
|
Laggy / Stuttering Video |
Resolution too high, insufficient lighting, unstable stand |
1) Lower resolution from 4K → 1080p for smootherfps2) Add more light to boost sensor speed) Stabilize the stand: place it on a sofa or a desk, and use a rubber mat under the base |
Integrated Buyer Guide And Recommendations
|
User Type |
Features To Look For |
Budget |
Action Tip |
|
Teachers |
HDMI/LCD output, 1080p+, sturdy stand |
$150–$300 |
Test visibility in a real classroom |
|
Hobbyists |
Adjustable LEDs, SD/USB capture |
$100–$250 |
Print a test photo to check clarity |
|
Electronics |
Long working distance, glare control |
$200–$400 |
Place a PCB under the scope and test tool clearance |
Conclusion
Digital microscopes make it easier than ever to explore the microscopic world with clear images, simple setup, and versatile applications for education, hobbies, and electronics. Whether you’re teaching, repairing, or collecting, they offer practical value at every level.
👉 What do you think about digital microscopes? Share your thoughts in the comments and don’t forget to forward this guide to friends or colleagues who might find it useful!
Leave a comment
All comments are moderated before being published.
This site is protected by hCaptcha and the hCaptcha Privacy Policy and Terms of Service apply.