
Table of Contents
Plant stomata are tiny pores on the leaf surface that help a plant exchange gases and release water vapor. Under a microscope, they often look like small oval openings surrounded by paired guard cells. You do not need to cut a thin leaf section to see them. A simple leaf impression made with clear nail polish and tape can capture the surface pattern clearly enough for beginner observation. This guide explains which leaves to choose, how to prepare a clean impression slide, how to view stomata, and how to compare different leaf surfaces without overinterpreting one small sample.
What Are Plant Stomata and Why Are They Interesting?
Tiny Pores on the Leaf Surface
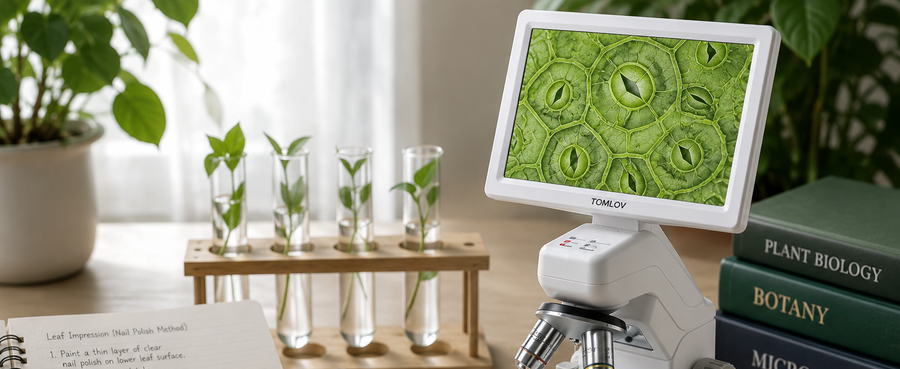
Stomata are microscopic openings found mainly on leaf surfaces. They are too small to see clearly with the naked eye, but they can become visible under magnification when the surface pattern is captured well. In a good impression, stomata may appear as small oval or slit-like pores between the surrounding leaf cells.
Guard Cells That Open and Close
Each stoma is usually bordered by two guard cells. These cells change shape to help open or close the pore. Under a beginner microscope setup, you may not see every internal detail, but you can often recognize the paired structure around the opening when the impression is clean and the focus is sharp.
Gas Exchange and Water Loss
Stomata help plants take in carbon dioxide and release oxygen and water vapor. This makes them important for photosynthesis and transpiration. Comparing stomata on different leaf surfaces can help beginners understand why leaves are not just flat green sheets but active living surfaces with visible microscopic structures.
What Leaves Work Best for Viewing Stomata?
Choose Fresh, Flat Leaves
Fresh, flat leaves usually work better than old, curled, or dry leaves. Spinach, spider plant, and Tradescantia are good beginner choices because their surfaces are easier to handle and compare. Choose a clean section without heavy dust, tearing, or obvious disease spots.
Compare the Top and Bottom Surfaces
Many leaves have more stomata on the lower surface than the upper surface. Prepare impressions from both sides if possible. Label them carefully as “top” and “bottom.” This comparison often gives beginners a clearer result than observing only one side of one leaf.
Avoid Thick, Waxy, or Damaged Leaves
Very thick, glossy, waxy, or damaged leaves can be harder to use. Nail polish may not spread evenly, tape may not lift a clean impression, and the surface pattern may be unclear. Succulent leaves and heavily waxed leaves are usually not ideal for a first attempt.

What Tools Do You Need Before You Start?
A Microscope With Transmitted Light
A microscope with bottom, or transmitted, light is useful because light can pass through a clear tape impression on a slide. For beginners, a digital microscope for specimen observation can also make the process easier because the sample can be viewed on a screen while you adjust focus and lighting. If your setup mainly uses top light, place the clear impression over a dark background to improve contrast.
Clear Nail Polish or Transparent Tape
Clear nail polish is used to make a thin surface cast of the leaf. Transparent tape lifts that dried cast from the leaf and transfers it to a slide. Use clear polish, not colored polish. Use clean tape without a cloudy or textured surface.
Slides, Tweezers, and Clean Labels
You will need clean slides, tweezers, scissors, labels, and a flat work surface. Labels are more important than they seem. Once you prepare several samples, it is easy to confuse plant type, leaf side, and observation time. Label each slide before or immediately after making it.
How Do You Prepare a Leaf Impression Slide?
Apply a Thin Layer of Clear Nail Polish
Choose a flat area of the leaf and apply a very thin patch of clear nail polish. The patch only needs to be large enough for observation. Too much polish can form a thick, uneven layer that hides fine surface details instead of preserving them.
Let the Polish Dry Completely
Let the polish dry fully before lifting it. If you remove it too early, the impression may smear, stretch, or stick unevenly to the tape. Drying time depends on the polish thickness and room conditions, but a thin layer usually works better and dries more cleanly.
Lift the Impression With Clear Tape
Press a small piece of clear tape gently over the dried polish. Lift it carefully from one edge so the dried impression comes away with the tape. Place the tape flat onto a clean slide. Avoid wrinkles, trapped bubbles, and fingerprints over the observation area.
How Do You View Stomata Under the Microscope?
Start at Low Magnification
Begin at low magnification to locate the surface pattern. Do not zoom in immediately. A wider view helps you find clear areas, avoid bubbles or wrinkles, and understand whether the impression captured the leaf surface properly.
Focus on the Leaf Surface Pattern
Adjust focus slowly until the cell outlines or surface texture becomes visible. Stomata can be easy to miss if the focus is slightly above or below the impression layer. If the view looks blank, move to another part of the slide before assuming the sample failed.
Increase Magnification to See Guard Cells
Once you find a clear area, increase magnification gradually and refocus after each adjustment. Guard cells are easier to recognize when the pore, the two surrounding cells, and some nearby leaf-surface pattern stay in view together.
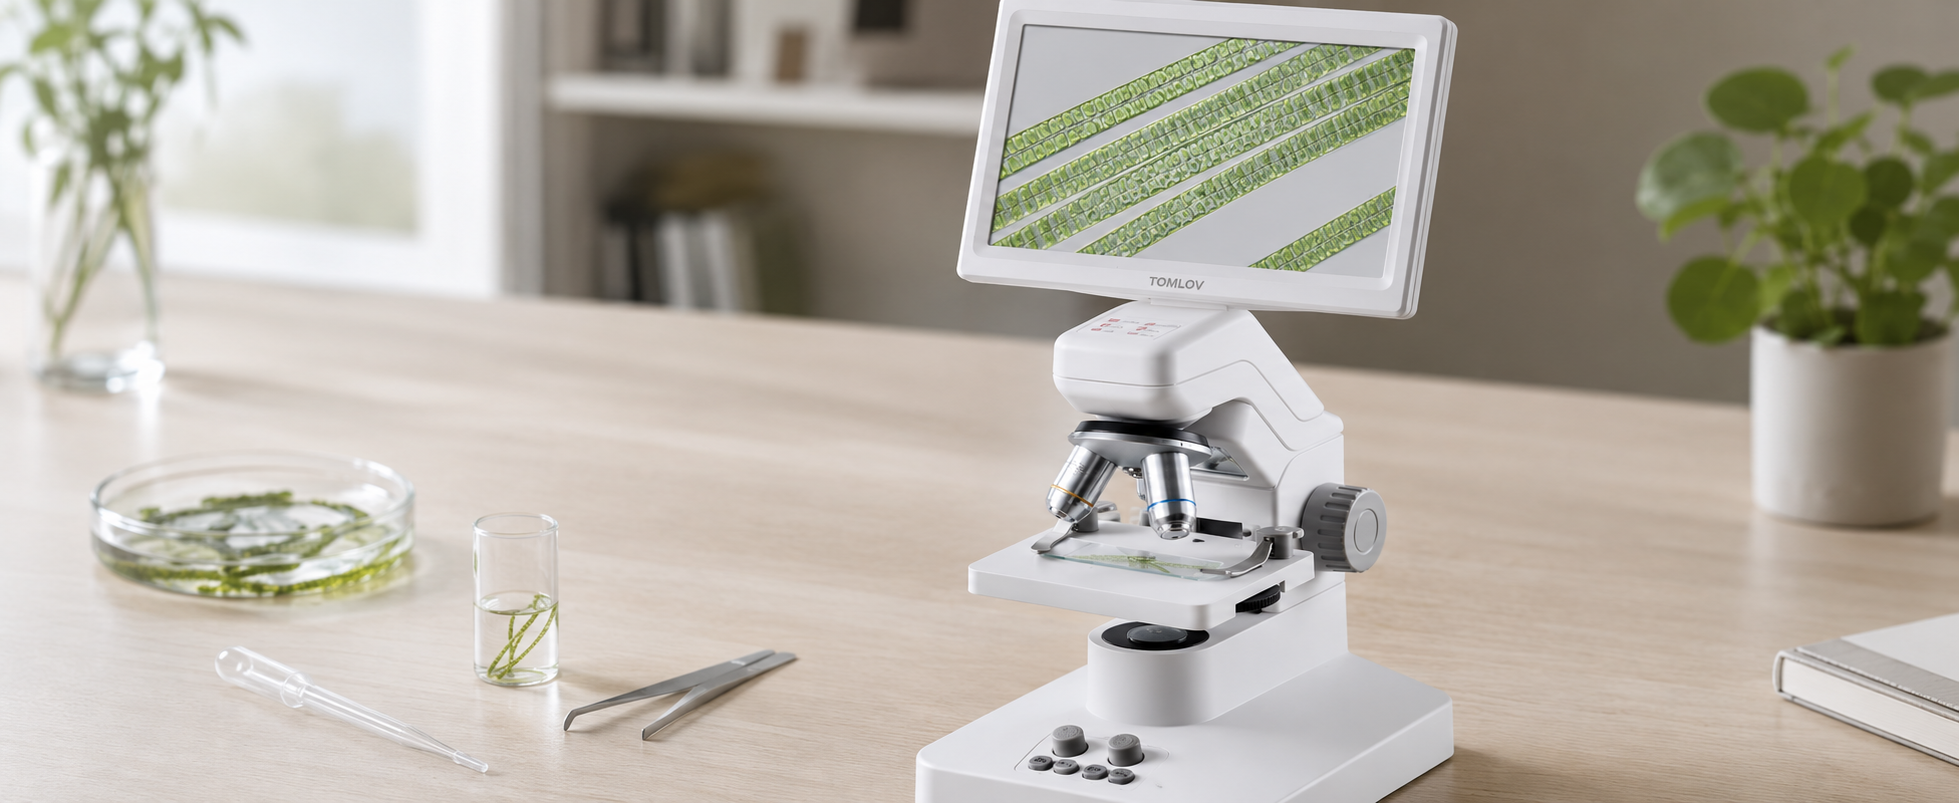
Standard microscopes require you to squint through an eyepiece, which can make counting tiny pores tiring. A digital setup like the TOMLOV DM301 Pro solves this by letting you view the impression on a clear screen, making it much easier to count stomata and capture crisp photos for your records.

What Should You Look for on the Slide?
Oval Pores Between Leaf Cells
Look for small oval, slit-like, or bean-shaped openings between the surrounding cell patterns. They may not all look identical. Some may appear open, while others may look narrow or less distinct depending on the leaf, impression quality, and focus.
Paired Guard Cells Around Each Pore
Guard cells usually appear as a pair around the stoma. In a clean impression, they may look like two curved cells surrounding a central pore. Do not worry if every stoma is not perfectly clear. Find the best-focused area and compare several examples.
Differences Between Leaf Surfaces
The top and bottom leaf surfaces may show different stomatal density. The lower surface often has more stomata, but this varies by plant. Compare similar viewing areas and keep the same magnification so the difference is easier to judge.
How Can You Compare Stomata Between Leaves?
Use the Same Magnification Each Time
Use the same magnification when comparing plant types or leaf surfaces. If one sample is viewed closer than another, the density may appear misleading. Consistent magnification makes comparisons more useful and easier to explain.
Count Stomata in Similar Viewing Areas
Choose similar-sized viewing areas and count visible stomata in each one. This does not need to be a formal lab measurement. For beginner observation, the goal is to notice whether one surface or plant type appears to have more visible stomata than another.
Record Plant Type and Leaf Surface
Write down the plant name, leaf side, date, and magnification. Without notes, your photos become harder to interpret later. Simple labels such as “spinach bottom surface” or “spider plant top surface” are enough for a useful comparison record.
How Can You Take Clear Stomata Images?
Adjust Light Before Zooming In
Adjust the light before increasing magnification. Too much light can wash out the clear impression, while too little light can hide cell outlines. For clear tape impressions, small lighting changes can make stomata appear or disappear quickly.
Keep the Slide Flat and Steady
Keep the slide flat and avoid touching the table while capturing images. A slight shift can blur the pore outline. If the tape is wrinkled, move to a smoother area instead of trying to force focus through an uneven section.
Label Photos by Plant and Leaf Side
Save photos with clear names, such as “spinach-bottom-stomata” or “tradescantia-top-leaf.” For close-up image records, a 4K digital microscope can be useful when the goal is to document fine surface patterns and compare multiple samples later.
What Mistakes Should Beginners Avoid?
Do Not Use Too Much Nail Polish
A thick layer of polish can blur the impression and create uneven focus. Use a thin coat and let it dry fully. If the first attempt looks cloudy or rough, make another impression rather than trying to fix the same patch.
Do Not Remove the Tape Too Early
Removing the tape before the polish dries can ruin the sample. The impression may stretch, smear, or fail to lift. Wait until the polish is dry and clear, then lift it slowly with steady pressure.
Do Not Overinterpret One Small Sample
One leaf impression shows only a tiny part of one leaf at one moment. Do not use it to make broad claims about the whole plant. Compare several areas, both leaf surfaces, and more than one leaf if you want a stronger observation.
Conclusion
Viewing plant stomata under a microscope is a simple project that can show real leaf structure without cutting thin sections. A clear nail polish impression, transparent tape, steady lighting, and careful labeling are usually enough for a strong beginner result. Start with fresh, flat leaves, compare the top and bottom surfaces, and look for oval pores with paired guard cells. Treat your results as visual observations, not complete scientific measurements.
FAQs
Can You See Stomata With a Digital Microscope?
Yes, you can see stomata with a digital microscope if the sample is prepared clearly and the lighting is suitable. A nail polish and tape impression works well because it captures the surface pattern. Start at low magnification, find a clear area, then increase magnification to look for pores and guard cells.
What Magnification Is Best for Viewing Stomata?
Start with low magnification to locate the surface pattern, then increase magnification to inspect individual stomata. The best setting depends on the microscope, sample quality, and lighting. Clear focus and a clean impression are usually more important than using the highest possible magnification.
Are Stomata Easier to See on the Top or Bottom of a Leaf?
Stomata are often easier to find on the lower surface of many leaves, but this varies by plant type. That is why it is useful to prepare impressions from both the top and bottom surfaces. Compare them at the same magnification for a more reliable observation.
Why Can’t I Find Stomata on My Slide?
Common reasons include using a thick polish layer, removing the tape too early, choosing a waxy leaf, poor lighting, or focusing on a wrinkled part of the tape. Try a fresh, flat leaf, use a thinner polish layer, and move across the slide slowly before preparing a new sample.

Hinterlasse einen Kommentar
Alle Kommentare werden vor der Veröffentlichung geprüft.
Diese Website ist durch hCaptcha geschützt und es gelten die allgemeinen Geschäftsbedingungen und Datenschutzbestimmungen von hCaptcha.