
Table of Contents
Under a microscope, an ant looks like a miniature armored insect with overlapping body plates, jointed legs, elbowed antennae, compound eyes, and powerful jaws. Magnification reveals details that are difficult to see with the naked eye, from tiny sensory hairs to the texture of its outer shell.
What you can see depends on the microscope, magnification, lighting, and whether you are examining a live ant or a prepared specimen. A low-power view shows the whole body, while higher magnification helps you inspect individual features.
What You Can See at Different Magnifications
Different magnification levels reveal different parts of an ant. A 4K digital microscope allows you to view these enlarged details on a screen and capture images or videos for closer examination. Starting with a wide view and gradually increasing magnification makes it easier to understand how an ant's body is structured.
The following table provides a practical guide to what you can expect to see:
|
Magnification |
What You Can See |
Best For |
|
10x–20x |
Whole body, head, mesosoma, gaster, and legs |
Overall body shape |
|
20x–40x |
Antennae, mandibles, leg joints, and body hairs |
External features |
|
40x–100x |
Compound eye facets and finer shell details |
Examining specific structures |
|
100x–400x |
Fine details on selected parts or prepared specimens |
Close inspection |
Digital zoom enlarges the image on a screen, but it does not necessarily reveal more optical detail.
Whole-Body Shape and Major Body Sections at Low Magnification
At around 10x to 40x, you can usually see the ant's three main body regions:
-
Head: Holds the eyes, antennae, and mouthparts, including the mandibles.
-
Mesosoma: The middle section, where the legs attach and the muscles that move them are located.
-
Gaster: The rear section of the abdomen, which contains important internal organs.
A narrow waist called the petiole connects the mesosoma and gaster. Some species also have a second waist segment, the postpetiole, creating a two-node appearance.
You can also trace the ant's six jointed legs. Each leg has several segments and ends in small claws that help it grip surfaces and climb.
Eyes, Antennae, Mandibles, and Body Hairs at Medium Magnification
At approximately 40x to 100x, the ant's head becomes easier to examine. Its elbowed antennae are especially noticeable. Ants use them to touch objects and detect chemical signals in their environment.
The mandibles are the paired jaws below the head. Their shape varies by species, and they help ants carry food, dig, grip objects, and defend themselves.
The compound eyes sit on the sides of the head. With sufficient magnification and image quality, you may see their many small visual units, called ommatidia. Some ants, particularly winged reproductive ants, also have three simple eyes called ocelli on top of the head. Many worker ants do not have visible ocelli.
Look closely at the body surface and you may notice fine hairs called setae. These sensory structures help ants detect touch and changes in their surroundings.

Eye Structures and Exoskeleton Texture at Higher Magnification
At around 100x to 400x, you will usually need to focus on one small area, such as an eye, leg joint, or patch of the exoskeleton. The compound eye may reveal a pattern of ommatidia, while the outer shell can show small pits, ridges, grooves, and sensory hairs.
You may also notice tiny openings called spiracles along the body. These connect to the ant's internal tracheal system, which carries air through the insect.
Very high magnification is not always suitable for viewing an intact ant. It is often more useful for examining selected body parts or prepared specimens.
Why Viral Ant Face Images Look Different from Real Microscope Views
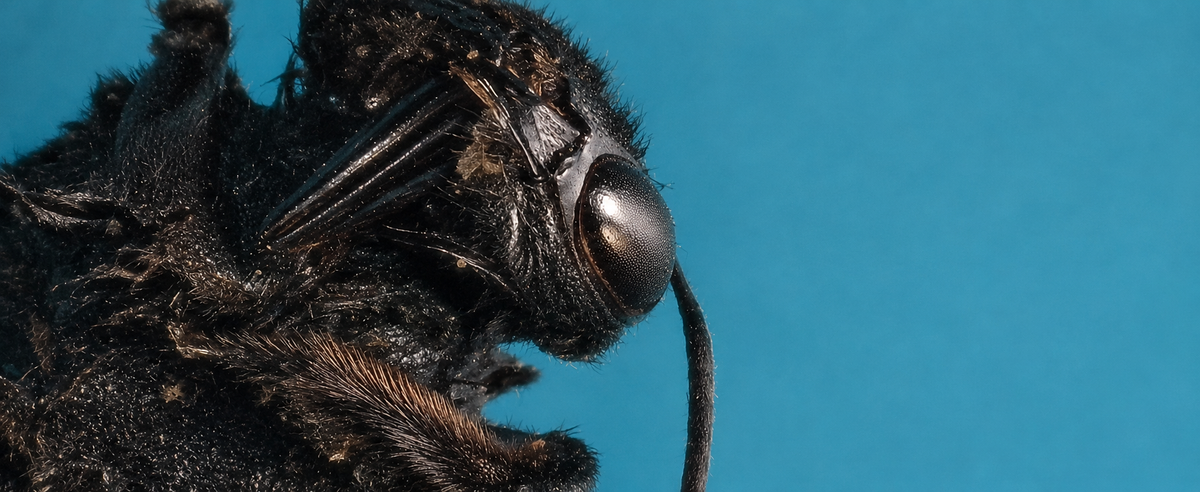
Some close-up ant photographs make the insect look like a creature from a science fiction film. A famous example is the carpenter ant photograph by Eugenijus Kavaliauskas, which attracted attention for its dramatic facial details.
Some features in the image are easy to mistake. The red structures that look like eyes are the bases of the antennae, while pointed details that resemble teeth are sensory hairs around the mouthparts.
Lighting and composition also affect the result. Reflected light can create strong highlights and shadows, while tight cropping makes small structures appear unusually large. Some macro photographers use focus stacking, combining images taken at different focus distances to make more of a subject appear sharp.
A regular microscope view will usually look more natural. The ant's appearance depends on its species, the direction and brightness of the light, and the camera settings.
Choosing the Right Microscope Type for Ant Observation
The best microscope depends on whether you want to examine a whole ant, watch it move, or study small parts on a slide.
Stereo Microscopes for Intact and Moving Ants
Stereo microscopes are a practical choice for viewing whole insects. They provide a three-dimensional view, leave room beneath the lens, and usually use light from above. This makes it easier to examine an intact ant without preparing a thin slide.
Their working distance also gives you room to reposition a specimen or observation dish. They are particularly useful for watching an ant walk or move its antennae.
Compound Microscopes for Prepared Ant Parts
Compound microscopes usually shine light up through a thin specimen on a glass slide. An intact ant is too thick and opaque for this type of viewing, so it may appear as a dark shape with little detail.
These microscopes are better for prepared samples, such as detached wings or thin sections that allow light to pass through.
Digital Microscopes for Screen Viewing and Recording
Digital microscopes use a camera to show magnified images on a built-in screen or an external monitor. You can adjust the view, capture photographs, and record videos without looking through eyepieces.
They are convenient for documenting observations and sharing details with classmates or family. However, a digital microscope does not automatically provide the same stereoscopic depth perception as a stereo microscope.
How to Observe a Live Ant Under a Microscope
You can observe a live ant with a simple setup. The aim is to keep the insect contained while avoiding unnecessary stress or injury.
1、Prepare a clear container. Use a shallow, transparent observation dish with a secure, ventilated lid. Avoid airtight containers and overcrowding.
2、Move the ant gently. Guide it into the dish with a soft brush rather than squeezing or handling it directly.
3、Start at low magnification. Find the ant in the viewing area and examine its overall shape before zooming in.
4、Adjust the light and focus. Ants have hard, sometimes glossy shells that reflect light. Reduce brightness or change the light angle if glare hides details.
5、Capture photos or video. Record the head, antennae, legs, and other features so you can review them later.
Keep the observation session short, avoid direct sunlight or excessive heat, and release the ant near where you found it. Do not use refrigerator cooling as a routine way to slow a live ant.
Viewing Ants with TOMLOV 4K Digital Microscopes
A useful insect-observation setup needs enough working space, adjustable lighting, and a clear way to view and record the specimen. TOMLOV's autofocus digital microscopes offer features that can make these tasks more convenient.
TOMLOV TM4K-AF Flex Arm: Flexible Viewing and Autofocus
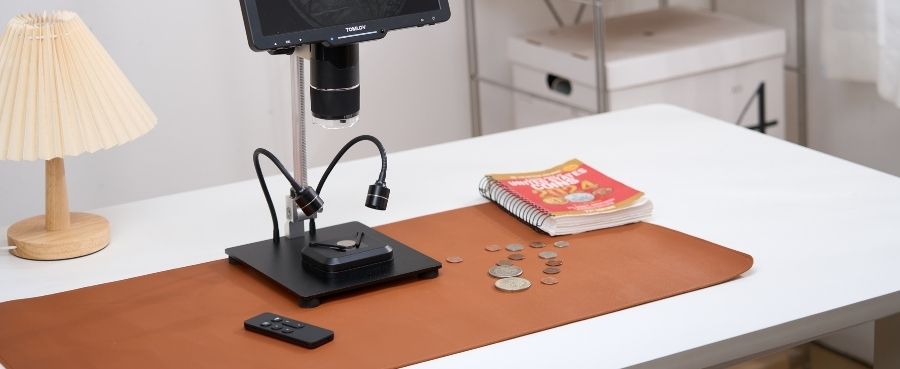
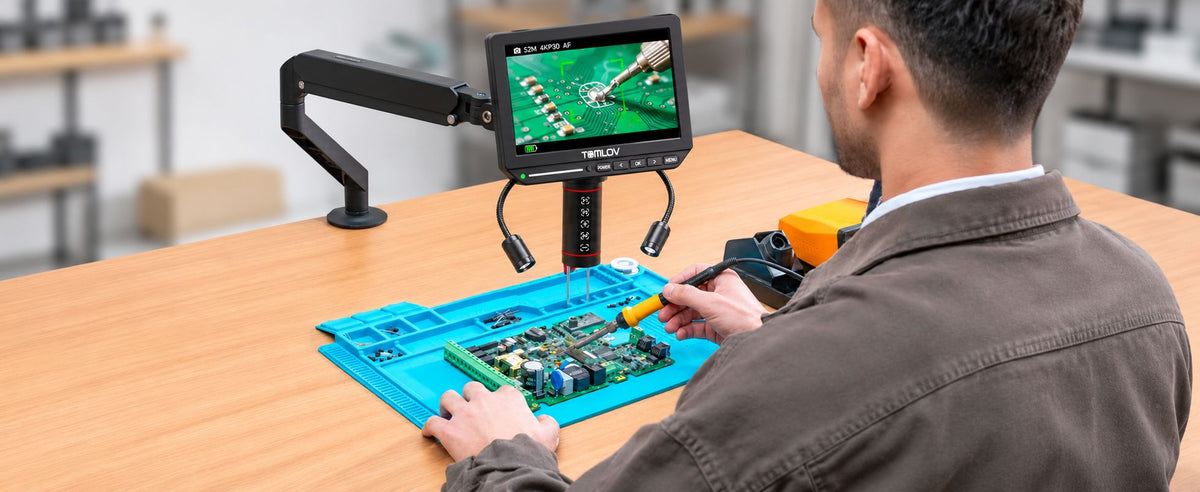
The TOMLOV Autofocus 4K Digital Microscope, 8" TM4K-AF Flex Arm has an 8-inch display and TOF-based autofocus. Its flexible arm lets you position the camera above an observation dish, while autofocus can reduce repeated manual adjustments.
The P1 and P2 preset focus buttons let you switch between two saved focus positions, which can help when examining objects at different heights. Adjustable dual gooseneck spotlights let you change the direction of the light to inspect different body areas and manage reflections.
The microscope also supports 4K UHD video and 52MP image capture for recording and reviewing observations. A moving ant may still leave the focal plane, so a stable dish and occasional focus adjustments can help.

TOMLOV TM4K-AF Max: A Larger Screen for Group Viewing
The TOMLOV 4K Autofocus Microscope TM4K-AF Max features a 10.1-inch IPS display and a 360-degree Spin Flex Arm. The larger screen makes it easier to view magnified details, while the adjustable arm helps position the camera over the specimen.
Its ring light provides even illumination, and brightness adjustments can help manage reflections on glossy surfaces. The microscope also supports 4K video, 52MP images, and HDMI/USB output for displaying observations on an external screen.
Both models are designed for digital viewing and recording. If you need true stereoscopic depth or transmitted-light examination of prepared slides, a dedicated stereo or compound microscope may be a better fit.
Final Thoughts
An ant under a microscope reveals much more than its tiny outline. Start with low magnification to understand its body shape, then zoom in to examine the eyes, antennae, mandibles, legs, and exoskeleton. The right microscope depends on whether you want to watch a live ant, inspect prepared parts, or capture images and videos. With suitable lighting and a stable observation setup, a common backyard insect can become an engaging subject for close-up study.
Frequently Asked Questions
Can You See an Ant Under a Regular Microscope?
Yes, but the microscope type matters. A stereo microscope is generally better for an intact ant because it provides working space and uses reflected light. A compound microscope is more suitable for thin specimens mounted on slides.
Can a Digital Microscope Help Identify an Ant Species?
A digital microscope can help you examine features used in identification, including antenna segments, mandible shape, body hairs, and waist structure. Identifying an exact species may also require regional guides, taxonomic keys, and other distinguishing characteristics.
Can You Observe a Live Ant Without Harming It?
Yes. Place it in a shallow, ventilated observation container, use moderate lighting, and avoid direct sunlight or excessive heat. Do not squeeze or chill the ant. Keep the session short and release it near where you found it.

Leave a comment
All comments are moderated before being published.
This site is protected by hCaptcha and the hCaptcha Privacy Policy and Terms of Service apply.