
Table of Contents
Accurate measurements are vital for professional inspections and scientific research. This guide explains how to properly calibrate your digital microscope so its software translates digital pixels into precise physical dimensions. Learn the setup, calibration steps, and when to recalibrate.
What Is Microscope Calibration?
Microscope calibration is the specific process of teaching your computer software exactly how much physical space is represented by a single digital pixel on your monitor. Because adjusting the magnification changes how large an object appears on your screen, the software needs a reliable physical reference point to calculate the correct mathematical scale. Calibration bridges the gap between the physical glass optics and the digital measurement tools.
Why Digital Microscope Calibration Matters
Failing to calibrate your equipment renders your software measurement tools completely useless. Proper calibration offers significant benefits that directly impact the quality of your work.
Calibration establishes a factual baseline by teaching the software exactly how many pixels equal a physical millimeter. This ensures your on-screen measurements reflect true dimensions down to the micron.
A calibrated system guarantees repeatable results over time. This reliability is vital for quality control inspectors and researchers tracking microscopic changes across long periods. Saving specific profiles for your preferred magnification levels automates complex calculations and eliminates human calculation errors from your workflow.
What You Need Before Calibration
Preparation is essential for achieving a perfect calibration. You must gather the right tools and stabilize your environment before you open your software settings.
A Calibration Slide or Stage Micrometer
You cannot calibrate a microscope using a random object like a coin or a printed piece of paper. You need a specialized tool called a stage micrometer or a calibration slide. This is a glass slide etched with a microscopic ruler that features certified, exact distances between its lines. This precision tool serves as the ultimate physical truth for your software.
A Fixed and Stable Microscope Setup
Your microscope must be securely mounted to a rigid stand. If you attempt to calibrate while holding a digital microscope in your hand, natural body tremors will blur the image and change the focal distance constantly. Lock the camera firmly onto a heavy metal base to ensure the distance between the lens and the calibration slide remains absolutely perfect.
Compatible Measurement Software
Your digital microscope must be connected to a computer running dedicated measurement software. Basic photo viewing applications cannot perform these geometric calculations. Ensure you have installed the specific software provided by your microscope manufacturer, as it contains the necessary drawing tools and calibration menus required for this task.
Consistent Camera Resolution and Image Settings
Changing your camera resolution from 1080p to 4K completely alters the number of pixels on your screen, which instantly invalidates any previous calibration. Before you begin, open your software settings and select the exact video resolution and aspect ratio you plan to use for all your future inspection work.
Clear Focus and Proper Lighting
You must be able to see the etched lines on your calibration slide with perfect clarity. Adjust your external lighting to reduce harsh glare on the glass surface. Then, turn your fine focus dial until the black markings on the microscopic ruler are incredibly sharp. Blurry lines make it impossible to tell the software exactly where a measurement should begin and end.

How to Calibrate a Digital Microscope
Once your workspace is prepared, you can begin the software calibration. Follow this methodical sequence to ensure your digital tools are perfectly synced with your optical lens.
Step 1: Place the Calibration Slide
Carefully place your glass calibration slide directly under the camera lens. Use your mechanical stage clips to hold the glass perfectly still. Position the slide so the etched ruler is perfectly horizontal across the center of your monitor.
Step 2: Set the Magnification
Turn the optical zoom dial on your microscope to the specific magnification level you want to calibrate. For example, if you plan to inspect jewelry at fifty times magnification, set the dial exactly to that number. Do not touch the zoom dial again for the rest of this process.
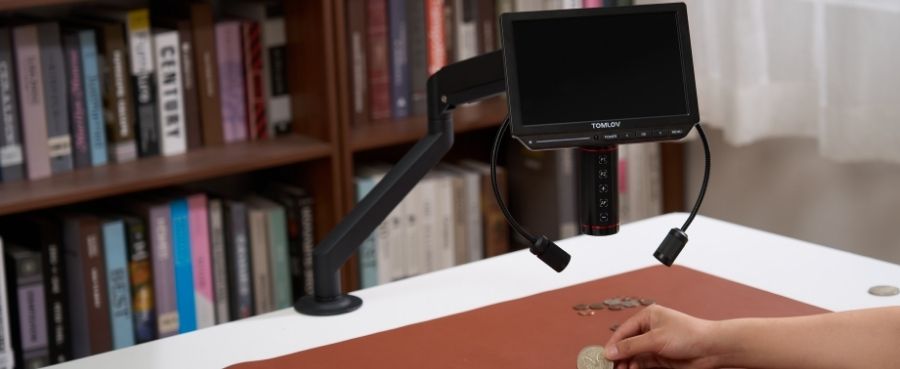
Some digital microscopes include autofocus features that make it easier to obtain a sharp image of the calibration scale. For example, TOMLOV Autofocus 4K Digital Microscope uses autofocus and preset focus positions to simplify focusing at different viewing distances. However, autofocus does not replace measurement calibration. After establishing the desired working distance and image scale, keep the microscope position and magnification settings unchanged while calibrating and measuring.
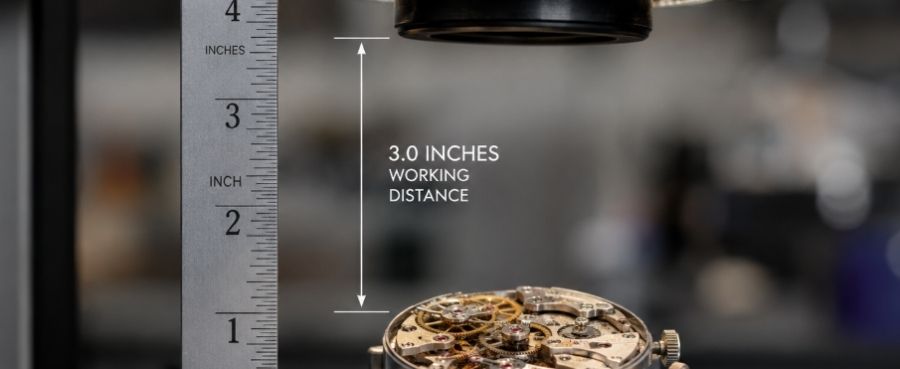
Step 3: Adjust the Working Distance
Raise or lower the main microscope stand to bring the calibration ruler into sharp focus. Take your time to ensure the black lines on the slide are as crisp as physically possible on your computer monitor.
Step 4: Open the Calibration Tool
Navigate to the menu in your microscope software and select the calibration function. This usually looks like a ruler icon or a dedicated drop-down menu labeled for calibration. Selecting this tool will prompt you to draw a line on your screen.
Step 5: Match the Known Distance
Use your mouse to click exactly on the starting line of the etched ruler on your screen. Drag the digital line across to another specific mark on the ruler and click again. The software will ask you to input the physical distance you just measured. If you dragged the line across one millimeter on the glass slide, type exactly one millimeter into the software prompt.
Step 6: Save the Calibration Profile
The software will now calculate the pixel ratio. It will prompt you to save these settings. Name the profile clearly, such as "Fifty Times Magnification" so you can easily select it from a menu later.
Step 7: Test the Measurement
Never assume a calibration was successful without checking it. Open your standard digital measurement tool and measure a different section of the calibration slide. If you measure a two millimeter gap and the software displays exactly two millimeters, your setup is perfectly accurate and ready for real work.
How to Measure After Calibration
With your software properly configured, taking accurate measurements becomes incredibly simple and highly reliable.
Replace the Slide With Your Sample
Carefully remove the calibration slide and place your actual specimen on the viewing stage. You can adjust the fine focus slightly to see your object clearly, but you absolutely must not touch the main optical zoom dial.
Use the Software Measurement Tools
Select the correct saved calibration profile from your software menu. Then, use the digital drawing tools to measure your object. You can draw straight lines to measure width, create circles to measure hole diameters, or use polygon tools to calculate the total surface area of complex shapes.
Add a Scale Bar When Needed
If you plan to save the image to share with a client or include in a research paper, use your software to insert a digital scale bar. This adds a visual ruler directly onto the photograph, allowing anyone viewing the saved image to instantly understand the true physical size of the subject.
When You Need to Recalibrate

Calibration is not a permanent setting. Because it relies on a specific physical geometry, any major physical changes to your equipment require a completely new setup.
After Changing Magnification
If you zoom in closer to see a smaller detail, your previous calibration is instantly void. The pixels on your screen now represent a much smaller physical area. You must create a unique calibration profile for every magnification level you regularly use.
After Changing Working Distance
If you raise the microscope camera high up on the stand to fit a tall object underneath, you change the focal plane. Even if you do not touch the zoom dial, altering this physical working distance requires a fresh calibration to guarantee perfect accuracy.
After Changing Software or Camera Settings
Updating your software, switching to a new computer, or changing your camera resolution will alter how the video feed is processed. Whenever you make a digital upgrade to your workstation, take five minutes to verify your calibration with your glass micrometer.
Before Important Measurements
If you are preparing to measure an aerospace component or a medical device where a microscopic error could cause a catastrophic failure, never rely on an old profile. Always perform a fresh calibration immediately before taking high-stakes measurements to guarantee absolute precision.
Conclusion
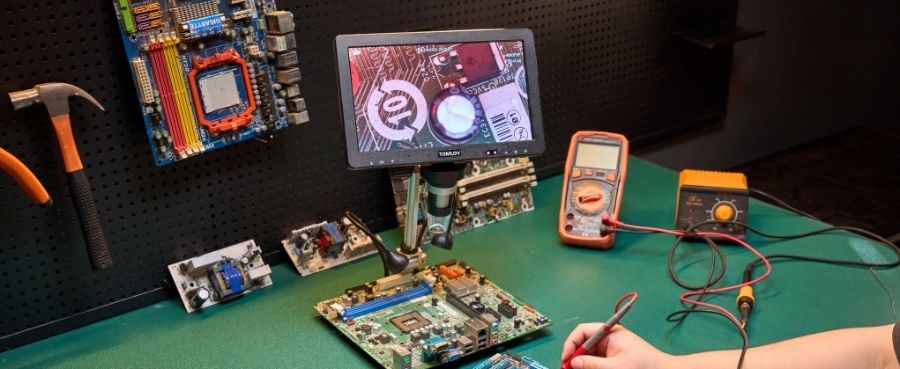
Calibrating your digital microscope is a fundamental skill that transforms a simple viewing camera into a highly precise scientific instrument. By utilizing a glass stage micrometer and methodically matching your software pixels to real physical distances, you eliminate sizing errors. Whether you are inspecting industrial circuit boards or measuring botanical samples, keeping your equipment properly calibrated ensures your data is always accurate, professional, and entirely trustworthy.
Frequently Asked Questions
How often is calibration required?
You should verify your calibration daily if you use the microscope for professional quality control or medical research. For casual hobbyists, checking the accuracy once a month or immediately after moving the physical equipment is usually sufficient.
What are common symptoms of poor calibration?
The most obvious symptom is that known objects appear completely wrong. If you measure a standard one millimeter watch screw and your software claims it is three millimeters wide, your calibration profile is either incorrect or entirely deactivated.
What is the 4 to 1 calibration rule?
In industrial metrology, the four to one rule states that your measurement instrument should be at least four times more accurate than the tolerance you are trying to verify. Properly calibrating your high resolution digital microscope ensures it easily exceeds this strict precision standard.
What are the two types of calibration?
Microscopists generally use linear calibration and spatial calibration. Linear calibration measures basic straight lines for width and height. Spatial calibration involves advanced grid mapping to correct optical lens distortion around the curved outer edges of the camera view.
What causes calibration to fail?
Failure usually happens due to user error during the setup phase. Drawing the digital line inaccurately, typing the wrong physical distance into the software prompt, or accidentally bumping the zoom dial while switching samples will completely ruin your measurement accuracy.

Leave a comment
All comments are moderated before being published.
This site is protected by hCaptcha and the hCaptcha Privacy Policy and Terms of Service apply.