
Table of Contents
Capturing clear photos through a microscope can be frustrating for beginners. This comprehensive guide simplifies the process, teaching you how to choose the right capture method, prepare your equipment, and take stunning micrographs. Learn to master smartphone and digital camera setups with ease.
Choose the Right Capture Method
Selecting the correct equipment setup is the first step toward successful imaging. Your choice will largely depend on your budget and how frequently you plan to take pictures of your slides.
Use a Smartphone for Simple Photos
Modern cell phones have incredible cameras built right in. If you only need to take a quick picture for a school assignment or to show a friend, holding your device directly over the eyepiece is the fastest method available. It requires patience and a very steady hand, but it is completely free and gets the job done for basic documentation and casual sharing.
Use a Phone Adapter for Better Stability
Relying on your hands alone often leads to blurry results and frustration. A universal smartphone adapter clamps directly onto the microscope eyepiece and grips your phone securely. This inexpensive tool holds the camera perfectly still and maintains the exact alignment required to capture a full circle of light without any shaking or constant readjustments.
Use a Microscope Camera for Regular Work
For professionals and dedicated hobbyists, a dedicated microscope camera is the ultimate imaging solution. These specialized cameras slide directly into the eyepiece tube and connect to a computer monitor or a standalone screen. They provide superior image quality and eliminate the need to balance a heavy phone on a delicate optical instrument.

Prepare the Microscope
Before you introduce a camera into your workflow, your optical instrument must be set up perfectly. Good preparation prevents simple errors from ruining your final photographs.
Clean the Lens and Eyepiece
Dust and eyelash oils on the glass will completely ruin your photographs. Before you even open your camera application, use optical lens paper to gently wipe down the eyepiece and the objective lenses. A clean optical pathway ensures your camera sensor captures the specimen itself rather than the debris resting on top of the glass.
Position the Specimen
A camera will only capture what is placed directly in the center of the light path. Move your mechanical stage slowly to center the most interesting part of your specimen. Ensure the glass slide is lying perfectly flat, as an angled slide will cause part of your photograph to fall out of focus completely.
Start With Low Magnification
Finding your subject at extreme magnification is incredibly difficult. Always begin your setup using the lowest power objective lens available. This wide view allows you to locate your specimen easily and ensures you can evenly illuminate the entire viewing area before you zoom in for extreme close-up shots.
Adjust the Lighting
Cameras require much more light than the human eye to capture crisp details. Increase the brightness on your base illuminator and open the iris diaphragm to let plenty of light pass through the specimen. Proper illumination allows your camera to use a faster shutter speed, which eliminates motion blur from environmental vibrations.
Take a Photo With a Smartphone
Using a phone requires a bit of manual dexterity and an understanding of how modern camera applications process light and focus.
Select the Main Camera Lens
Most modern cell phones have multiple lenses on the back. Open your camera application and gently cover the lenses one by one with your finger to determine which one is the primary wide camera. You must align this specific primary lens with the hole in the eyepiece to capture a proper image.
Align the Phone With the Eyepiece
Hover your device about half an inch above the eyepiece. Look at your screen and slowly move the device until a bright circle of light appears right in the center. Once the circle is perfectly centered and the image is visible, carefully lower the device until it rests flat against the rim of the eyepiece.
Lock Focus and Exposure
Cell phone cameras constantly try to readjust their focus, which causes the screen to flash in and out of clarity. Tap and hold your finger on the center of your screen to lock the autofocus and exposure settings. Once locked, you can use the fine focus knob on your microscope to bring the specimen into crystal-clear view.
Use a Timer or Remote Shutter
Tapping the capture button on your screen causes a tiny physical vibration that will blur a highly magnified image. Set a three-second timer in your camera app to give the device time to settle after you touch it. Alternatively, you can use a Bluetooth remote or plug in your headphones and use the volume button to trigger the shutter safely.
Take a Photo With a Microscope Camera
Upgrading to a dedicated digital camera streamlines your entire workflow. This hardware is designed specifically to interface with complex optical lenses.
Connect the Camera to the Microscope
Dedicated imaging devices are designed to integrate seamlessly with your equipment. Remove the standard optical eyepiece and gently slide the digital camera directly into the empty tube. If you have a trinocular microscope, simply attach the camera to the dedicated third vertical port so you can still use both eyepieces normally while viewing your screen.
Open the Imaging Software
Connect the provided data cable from the device to your computer and open the designated imaging software. This specialized program allows you to see a live video feed on a large monitor. The software also provides advanced tools for adjusting color balance and measuring specific structures right on the screen.
Adjust Focus and Exposure
Look at your computer monitor rather than the physical microscope while turning your focus knobs. Use the software sliders to tweak the digital exposure time until the image is bright and colorful. Digital cameras often pick up subtle textures that your eyes miss, so take your time finding the absolute sharpest focal point.
Save the Image to a Computer or SD Card
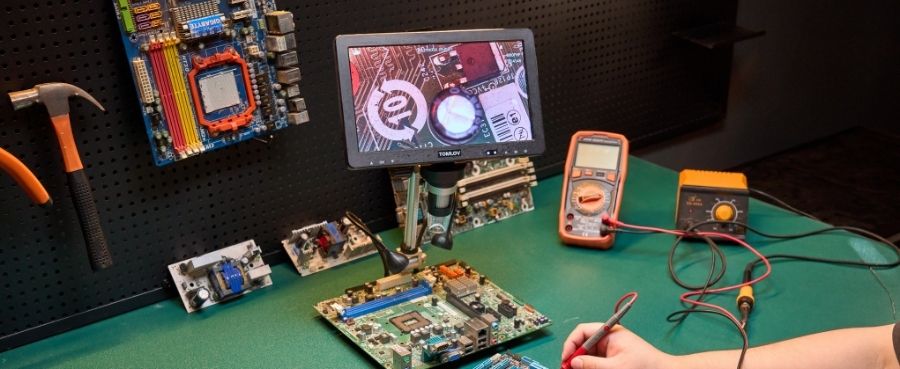
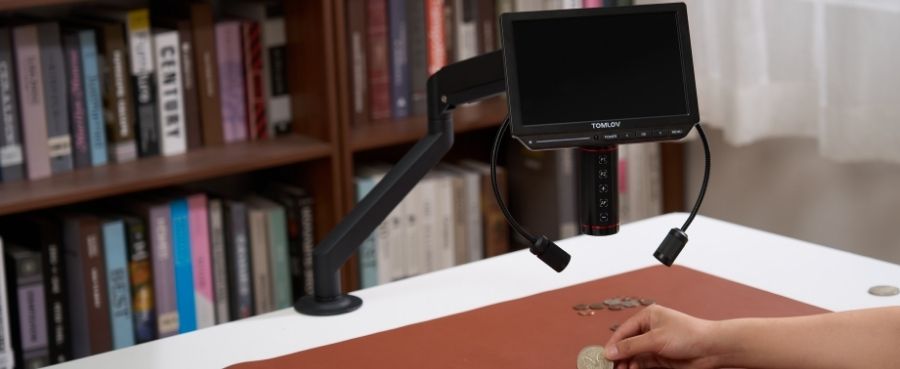
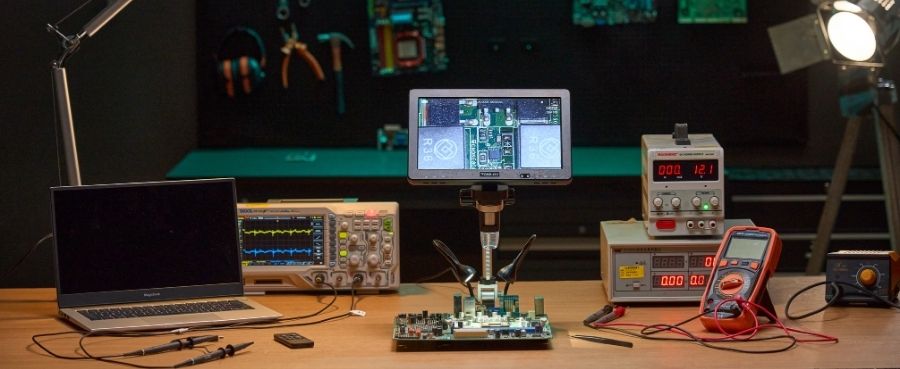
Once your live feed looks perfect, simply click the capture button in your software program to save the image directly to your computer. If you prefer an all-in-one solution that does not require a separate computer, a model like the Tomlov DM9 Max 10.1" HD IPS HDMI Digital Microscope features a built-in screen and saves incredibly detailed photos directly to an internal memory card for ultimate convenience.

Improve the Final Image
Your work is not finished just because you pressed the shutter button. A few simple digital edits can elevate your photograph from good to professional.
Crop Unwanted Borders
Photographs taken through an eyepiece almost always feature a black circular border called a vignette. Open your captured picture in a basic photo editing application and use the crop tool to trim away these dark edges. Cropping focuses the viewer entirely on your main subject and makes the final result look much cleaner.
Adjust Brightness and Contrast
Even with perfect lighting, digital images can sometimes appear a bit flat or washed out. Use simple editing sliders to boost the contrast slightly and increase the color saturation. Enhancing these levels brings out the hidden depths and vibrant stains in your biological samples or industrial circuit boards.
Use Focus Stacking for Thick Specimens
Thick objects like insects or plant stems are impossible to get entirely in focus at the exact same time. You can take multiple photos of the same object at slightly different focal depths. Specialized software can then combine these individual slices into one incredible final photograph where every single detail is perfectly sharp.
Add a Scale Bar When Measuring
If you are taking photographs for scientific research or school reports, size context is extremely important. Use your imaging software to draw a digital scale bar directly onto the photograph before you save the final file. This visual ruler allows anyone viewing the image to instantly understand the true microscopic size of your subject.
Final Thoughts
Capturing the microscopic world transforms a solitary hobby into a shared experience. Whether using a smartphone or a dedicated digital setup, patience and preparation are key. By properly cleaning your optics, optimizing lighting, and utilizing tools like timers or imaging software, you can easily eliminate blur and consistently capture stunning, crystal-clear micrographs.
Frequently Asked Questions
Can You Photograph Through Any Microscope?
You can take pictures through almost any functional microscope. As long as the instrument produces a clear image to your naked eye, you can align a camera lens with the eyepiece to capture it. The quality of the final photograph will simply depend on the cleanliness of your optics and the physical stability of your setup.
What is a photo taken through a microscope called?
A photograph taken through a microscope is officially called a micrograph. You might also hear it referred to as a photomicrograph. This specific scientific term distinguishes these highly magnified images from standard macro photography, which typically uses regular camera lenses to capture close up shots of larger subjects.
What camera settings are needed for microscope photography?
You want to use a low ISO setting to prevent digital noise and grain from ruining the fine details of your subject. Because microscopic specimens are completely stationary, you can rely on a slightly longer shutter speed to gather enough light. Always keep your autofocus locked to prevent the camera from constantly hunting for clarity.
Can a Digital Microscope Take Photos Directly?
Purpose-built digital microscopes are explicitly designed with integrated cameras and internal software specifically for this task. They allow you to view the specimen on a built-in screen and capture high-resolution photographs or video files with the simple press of a single button, bypassing the need for an external camera entirely.

Leave a comment
All comments are moderated before being published.
This site is protected by hCaptcha and the hCaptcha Privacy Policy and Terms of Service apply.