
Table of Contents
Connecting a digital microscope to an Android phone transforms your mobile device into a powerful, portable inspection screen. This guide explains how to verify hardware compatibility, set up the required OTG adapters, use the correct applications, and capture high-quality microscopic images easily.
Check Your Microscope and Phone Compatibility
Before plugging any cables in, you need to verify that your devices can actually communicate with each other. Taking a moment to confirm these technical specifications will save you from frustrating connection errors later.
Confirm the Microscope Supports Android
Not all microscopes are designed to interface with mobile operating systems. Check the manufacturer's specifications to ensure your specific model explicitly lists Android compatibility, as some cameras are restricted exclusively to Windows or Mac computers.
Not all microscopes are designed to interface with mobile operating systems. Check the manufacturer's specifications to ensure your specific model explicitly lists Android compatibility, as some cameras are restricted exclusively to Windows or Mac computers. If your model is intended for desktop use—or you want a larger viewing screen—follow the appropriate steps to connect a digital microscope to your computer.
Check USB OTG Support on Your Phone
For a wired USB connection to work, your Android phone must support USB OTG (On-The-Go). This feature allows your phone to act as a host device, providing electrical power to external peripherals like a camera. You can verify this in your phone settings or by utilizing a free OTG checker app.
Identify USB or WiFi Connection Type
Microscopes connect to phones in two primary ways: via a direct USB cable or over a wireless WiFi network. Identifying whether your microscope emits its own wireless signal or relies on a physical cable determines exactly which adapters and apps you will need for the setup.
Prepare What You Need Before Connecting
Once you know your hardware is compatible, gathering the right physical accessories and software is the next step. Having everything ready on your workbench ensures a smooth and uninterrupted setup process.

Prepare the Correct OTG Adapter
If your microscope uses a standard USB-A plug, you cannot plug it directly into your modern smartphone. You must acquire an OTG adapter that converts the microscope’s wide USB-A connector into the smaller USB-C or Micro-USB port found on your specific Android device.
Install the Recommended Microscope App
Your phone requires software to process the incoming video feed. While generic apps like "OTG View" or "USB Camera" work for many wired models, it is always best to download the manufacturer’s proprietary application from the Google Play Store for optimal hardware compatibility.
Check the Cable and Phone Port
Inspect your phone's charging port to ensure it is free of lint and debris, as a loose physical connection will cause the video feed to freeze or disconnect. Verify that your OTG adapter fits snugly and securely into the port.
How to Connect a USB Digital Microscope to Android
Establishing the physical link between your optics and your smartphone requires a specific sequence of steps. Following this exact order ensures the camera receives adequate power and successfully transmits its signal.
Step 1: Connect the OTG Adapter
Attach your OTG adapter to the end of the microscope's USB cable. Ensure the connection between the cable and the adapter is entirely flush, as this is where data and power transfer occurs.
Step 2: Plug In the Microscope
Insert the OTG adapter directly into your Android phone's charging port. If your phone supports OTG and is powered on, it should immediately recognize that an external USB device has been physically connected.
Step 3: Open the Microscope App
Launch the designated viewing application on your phone. Upon opening, the app will typically display a pop-up prompt asking for system permission to access the connected USB camera.
Step 4: Allow USB Access
Tap "Allow" or "OK" on the permission prompt. Denying this permission will prevent the app from receiving the video feed, resulting in a blank screen. Once granted, the live image from the microscope should appear on your display.
Step 5: Adjust Focus and Lighting
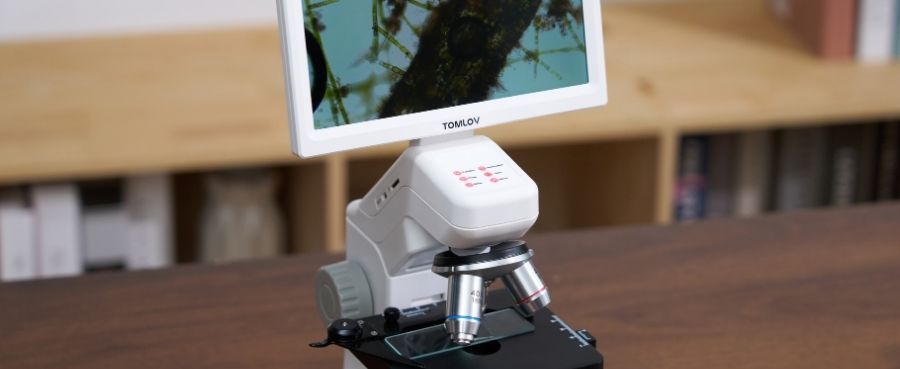
With the live feed active, position your specimen and use the microscope's physical dials to refine the image. If you prefer a setup that minimizes hand-held shakiness while adjusting focus, a model like the TOMLOV DM301 Max Digital Microscope features an integrated X-Y mechanical stage and independent lighting controls, ensuring your object remains perfectly centered and illuminated while you dial in the optical clarity.

Tips for Getting a Clear Microscope Image
Simply seeing a live feed on your screen is only the beginning; maximizing optical clarity is crucial. Managing your physical environment and lighting conditions guarantees the sharpest possible resolution.
Place the Object on a Stable Surface
Microscopic magnification amplifies the slightest vibrations. Rest your hands, the microscope, and the specimen on a solid, flat table to prevent motion blur and keep the camera sensor perfectly still.
Adjust Distance Before Magnification
Physical distance determines the field of view. Move the microscope closer to or further from the object to establish the general framing before you begin turning the fine focus wheel to sharpen the microscopic details.
Control the LED Brightness
Highly reflective surfaces like coins or circuit boards will glare heavily under intense light. Use the inline dimmer switch on the microscope cable or the physical buttons on the device to lower the LED brightness until the subtle surface textures become clearly visible.
How to Take Photos and Videos on Android
Documenting your microscopic findings directly to your mobile device makes sharing and archiving effortless. Utilizing the software interface correctly ensures your files are saved in high resolution without accidental motion blur.
Capture Images in the Microscope App
Once your image is focused, tap the camera icon displayed on the app's digital interface to snap a high-resolution photograph. Avoid pressing physical buttons on the microscope itself, as the mechanical click will introduce vibrations and blur the photo.
Record Microscope Videos
To document moving specimens or record a repair process, tap the video camera icon within the app to begin recording. The live footage will be captured and processed directly by your phone's hardware.
Find and Save Your Files
Most microscope applications automatically create a dedicated folder within your Android phone's default gallery app. You can access, share, and edit your microscopic photos and videos directly from your gallery, just like standard smartphone pictures.
Conclusions
Connecting a digital microscope to an Android device is a simple process that vastly expands the portability of your optical equipment. By ensuring OTG compatibility or deploying a wifi digital microscope alongside designated viewing apps, you can easily inspect, document, and share microscopic details directly from the palm of your hand.
FAQs About Connecting a Digital Microscope to Android
Can Any Digital Microscope Connect to an Android Phone?
No. The microscope must be explicitly designed to support Android operating systems. Additionally, for wired models, your specific phone must feature OTG capabilities to provide power and read the data stream.
Do I Need OTG for a USB Microscope?
Yes. USB OTG (On-The-Go) is a mandatory hardware requirement for your Android phone to interface with a wired USB microscope. Without it, the phone cannot power the external camera sensor.
Why Does My Microscope Work on a PC but Not Android?
PCs universally act as USB hosts, providing ample power and driver support for external devices. An Android phone may lack the necessary OTG host capabilities, or you may be using an incompatible mobile viewing application.
Why Is My Digital Microscope Showing a Black Screen?
A black screen usually indicates a software permission issue or a hardware connection failure. Ensure you have granted the app permission to access external USB devices, check that the OTG adapter is fully inserted, and verify the microscope's LEDs are turned on.
Can I Connect a Digital Microscope Without WiFi?
Yes. You can connect utilizing a direct, wired USB connection via an OTG adapter. This method provides a highly stable, lag-free video feed without relying on wireless networks or battery-powered transmitters.

Leave a comment
All comments are moderated before being published.
This site is protected by hCaptcha and the hCaptcha Privacy Policy and Terms of Service apply.